32
YOGA Tab 3 Pro 10" User Guide Lenovo YT3–X90F Lenovo YT3–X90L Lenovo YT3–X90X
YOGA Tab 3 Pro 10"User GuideLenovo YT3–X90F
Lenovo YT3–X90L
Lenovo YT3–X90X
Basics
Notes : Before using this information and the product it supports, be sure to read the following:
Safety, Warranty & Quick Start GuideRegulatory Notice“Important safety and handling information” in "Appendix".
The Safety, Warranty & Quick Start Guide and the Regulatory Notice are available on thewebsite at http://support.lenovo.com.
Technical specifications
Model Lenovo YT3–X90F Lenovo YT3–X90L Lenovo YT3–X90X
CPUIntel® Atom™ x5-Z8500 Processor
Intel® Atom™ x5-Z8500Processor
Intel® Atom™ x5-Z8500 Processor
Battery 10200 mAh 10200 mAh 10200 mAh
Wirelesscommunication
Bluetooth 4.0;WLAN;GPS/GLONASS
Bluetooth 4.0; WLAN;GPS/GLONASS;LTE/WCDMA/TDSCDMA/GSM
Bluetooth 4.0;WLAN;GPS/GLONASS;LTE/WCDMA/GSM
NOTE: Lenovo YT3–X90L supports LTE Band 1, 2, 3, 4, 5, 7, 8, 9, 12, 17, 18, 19, 20, 25, 26,38, 39 and 40. Lenovo YT3–X90X supports LTE Band 1, 2, 3, 4, 5, 7, 8, 9, 18, 19, 21, 25, 26,28a, 28b, 40 and 41. But In some countries, LTE is not supported. To know if your deviceworks with LTE networks in your country, contact your carrier.
Home screen
The home screen is the starting point for using your device. For your convenience, the homescreen is already set up with some useful apps and widgets.
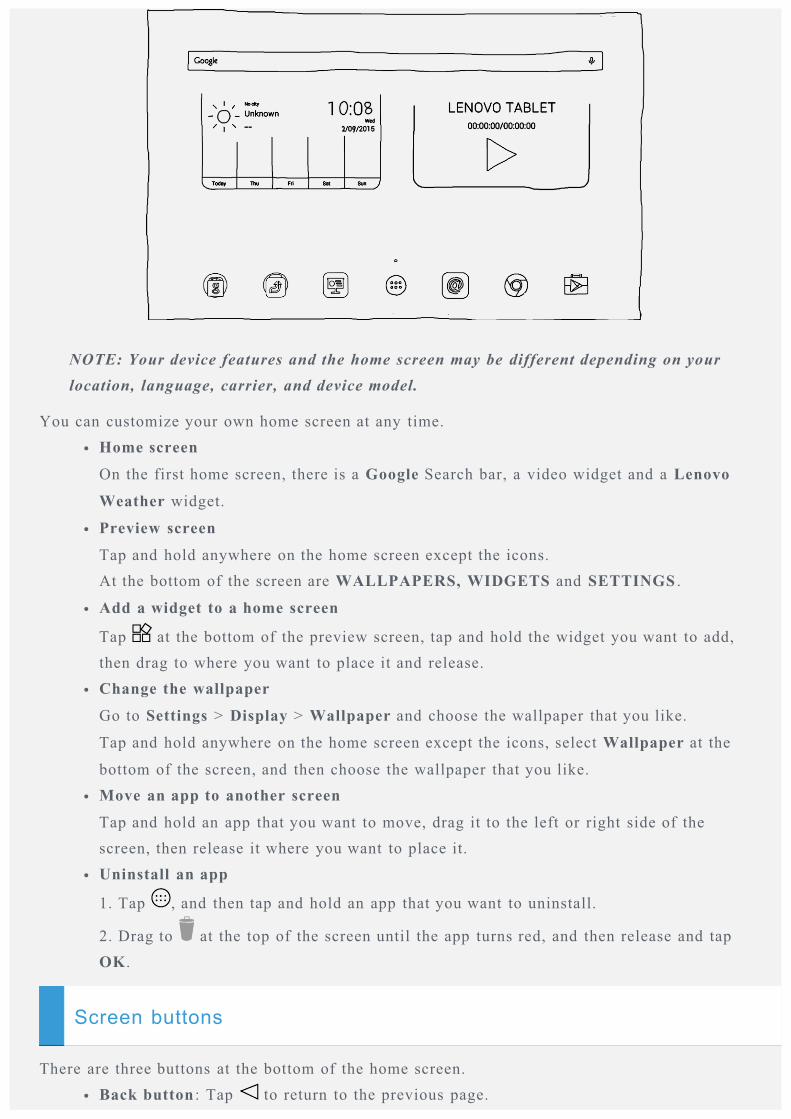
NOTE: Your device features and the home screen may be different depending on yourlocation, language, carrier, and device model.
You can customize your own home screen at any time.Home screen
On the first home screen, there is a Google Search bar, a video widget and a Lenovo
Weather widget.
Preview screen
Tap and hold anywhere on the home screen except the icons.At the bottom of the screen are WALLPAPERS, WIDGETS and SETTINGS .
Add a widget to a home screen
Tap at the bottom of the preview screen, tap and hold the widget you want to add,then drag to where you want to place it and release.Change the wallpaper
Go to Settings > Display > Wallpaper and choose the wallpaper that you like.
Tap and hold anywhere on the home screen except the icons, select Wallpaper at the
bottom of the screen, and then choose the wallpaper that you like.Move an app to another screen
Tap and hold an app that you want to move, drag it to the left or right side of thescreen, then release it where you want to place it.Uninstall an app
1. Tap , and then tap and hold an app that you want to uninstall.
2. Drag to at the top of the screen until the app turns red, and then release and tapOK.
Screen buttons
There are three buttons at the bottom of the home screen.Back button : Tap to return to the previous page.
Home button : Tap to return to the default home screen.
Recent button : Tap to see recent apps. Then you can do the following:
Tap an app to open it.Swipe an app window downwards to lock or unlock it.Swipe an app window up to close it.
Tap to stop running all the apps except the locked ones.
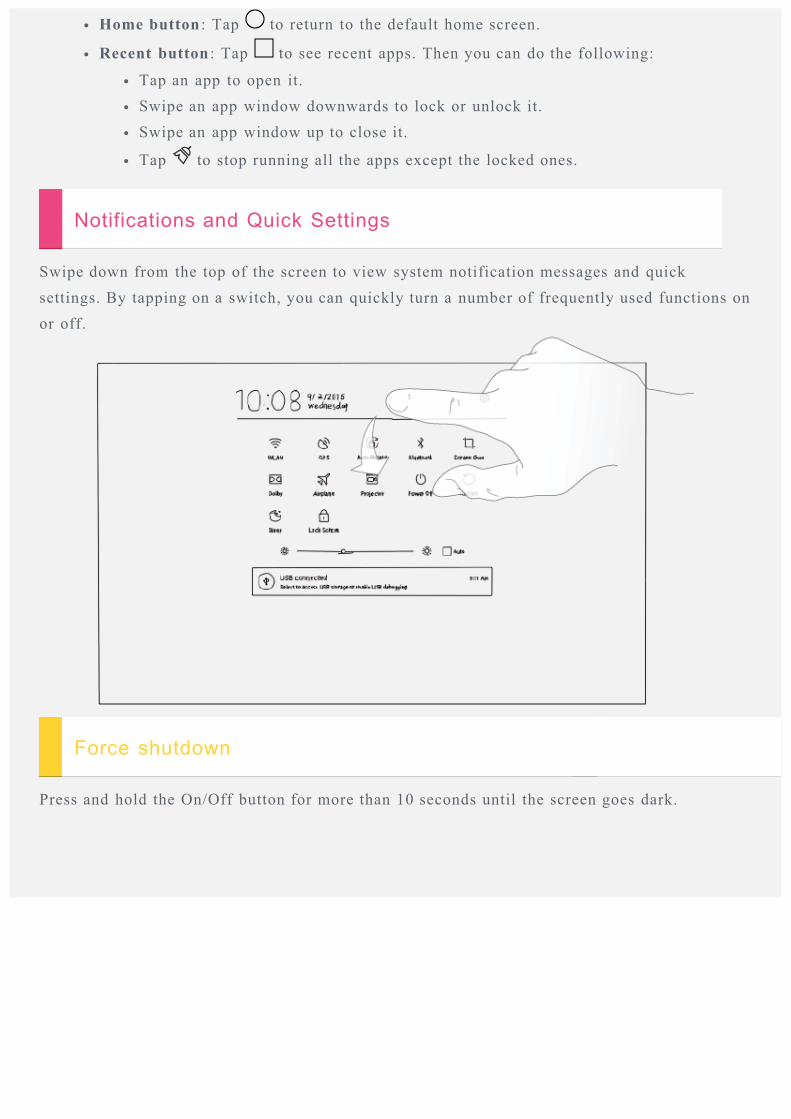
Notifications and Quick Settings
Swipe down from the top of the screen to view system notification messages and quicksettings. By tapping on a switch, you can quickly turn a number of frequently used functions onor off.
Force shutdown
Press and hold the On/Off button for more than 10 seconds until the screen goes dark.
Camera
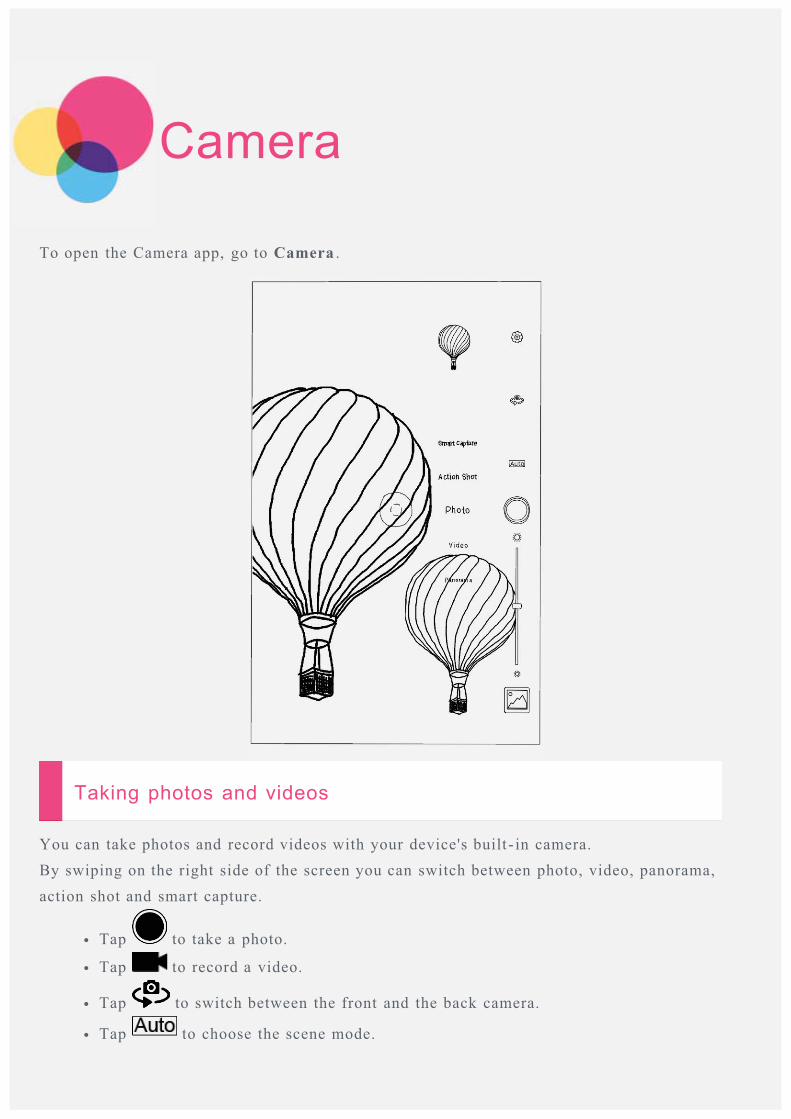
To open the Camera app, go to Camera .
Taking photos and videos
You can take photos and record videos with your device's built - in camera.By swiping on the right side of the screen you can switch between photo, video, panorama,action shot and smart capture.
Tap to take a photo.
Tap to record a video.
Tap to switch between the front and the back camera.
Tap to choose the scene mode.
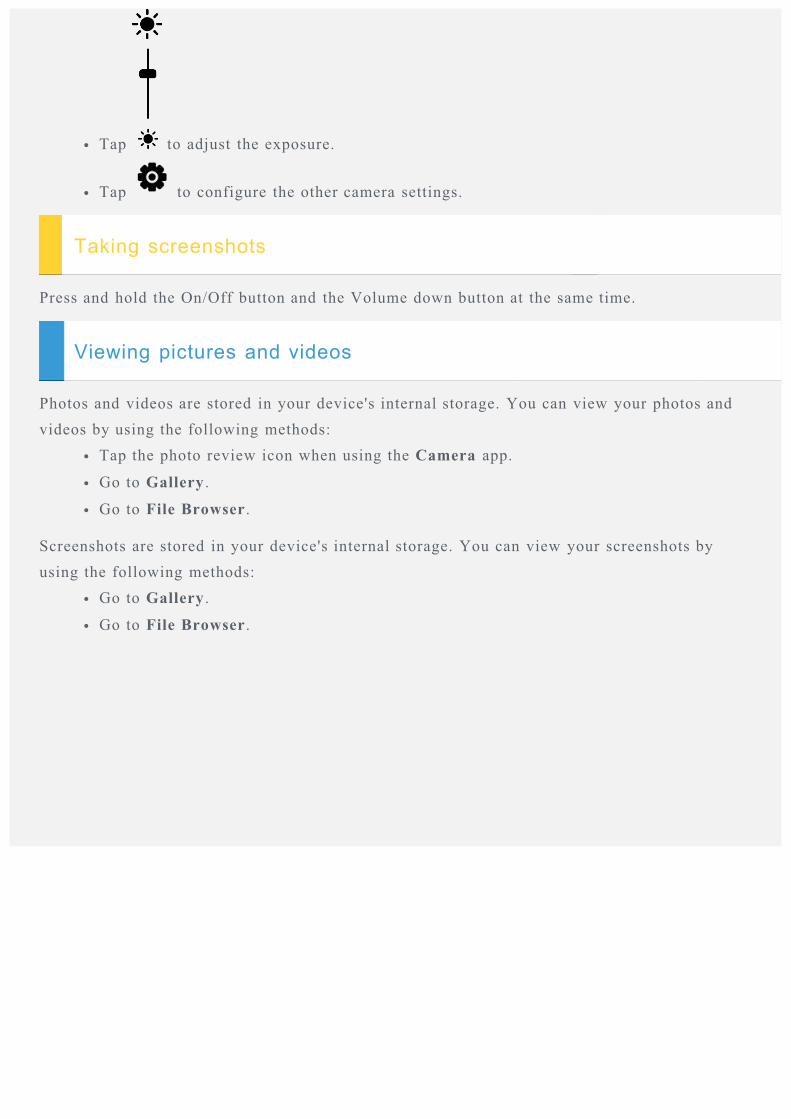
Tap to adjust the exposure.
Tap to configure the other camera settings.
Taking screenshots
Press and hold the On/Off button and the Volume down button at the same time.
Viewing pictures and videos
Photos and videos are stored in your device's internal storage. You can view your photos andvideos by using the following methods:
Tap the photo review icon when using the Camera app.
Go to Gallery .
Go to File Browser .
Screenshots are stored in your device's internal storage. You can view your screenshots byusing the following methods:
Go to Gallery .
Go to File Browser .
Network
You need to set up a wireless network before connecting to the Internet.
Setting up a WLAN network
Go to Settings > WLAN .
Turn on the WLAN block and tap one WLAN hotspot in the list, then you can connect to theInternet. When you access a secure link, you need to input your login name and password to connect.NOTE: You need to have a valid WLAN hotspot to link to.
Setting up a VPN network
VPNs used within organizations allow you to communicate private information securely over anon-private network. You may need to configure a VPN, for example, to access your workemail. Ask the network’s administrator for the settings necessary to configure a VPN for yournetwork. When one or more VPN settings are defined you can:
Go to Settings > More > VPN.
Tap to edit the VPN profile, including the server name, the type and the serveraddress, and then tap SAVE .
Tap the VPN server name, input the username and password, and then tap CONNECT
to connect to the VPN network.Tap and hold the VPN server name to edit or delete the VPN.
Network
You need to set up a wireless network before connecting to the Internet.Set up a WLAN networkSet up a mobile networkSet up a VPN network
You can also set up a hotspot to share your mobile network with others.
Setting up a WLAN network
Go to Settings > WLAN .
Turn on the WLAN block and tap a WLAN hotspot in the list to connect to the Internet. When you access a secure link, you need to enter your login name and password to connect. NOTE: You need to have a valid WLAN hotspot to connect to.
Setting up a mobile network
Go to Settings > More > Cellular networks > Data enabled .
NOTE: You need a valid SIM card with a data service. If you don't have a SIM card, contactyour carrier.
Setting up a VPN network
VPNs used within organizations allow you to communicate private information securely over anon-private network. You may need to configure a VPN, for example, to access your workemail. Ask the network’s administrator for the settings necessary to configure a VPN for yournetwork. When one or more VPN settings are defined you can:
Go to Settings > More > VPN.
Tap to edit the VPN profile, including the server name, the type and the serveraddress, and then tap SAVE .
Tap the VPN server name, input the username and password, and then tap CONNECT
to connect to the VPN network.Tap and hold the VPN server name to edit or delete the VPN.
Setting up a hotspot
You can use Personal hotspot to share an Internet connection with a computer or other device.Go to Settings > More > Tethering & portable hotspot and do the following:
Turn on Portable WLAN hotspot .
Tap Set up WLAN hotspot to configure the hotspot.
You can also use Bluetooth tethering and USB tethering .
NOTE: Tell your friends the Network SSID and password, and then they can share yourmobile network.
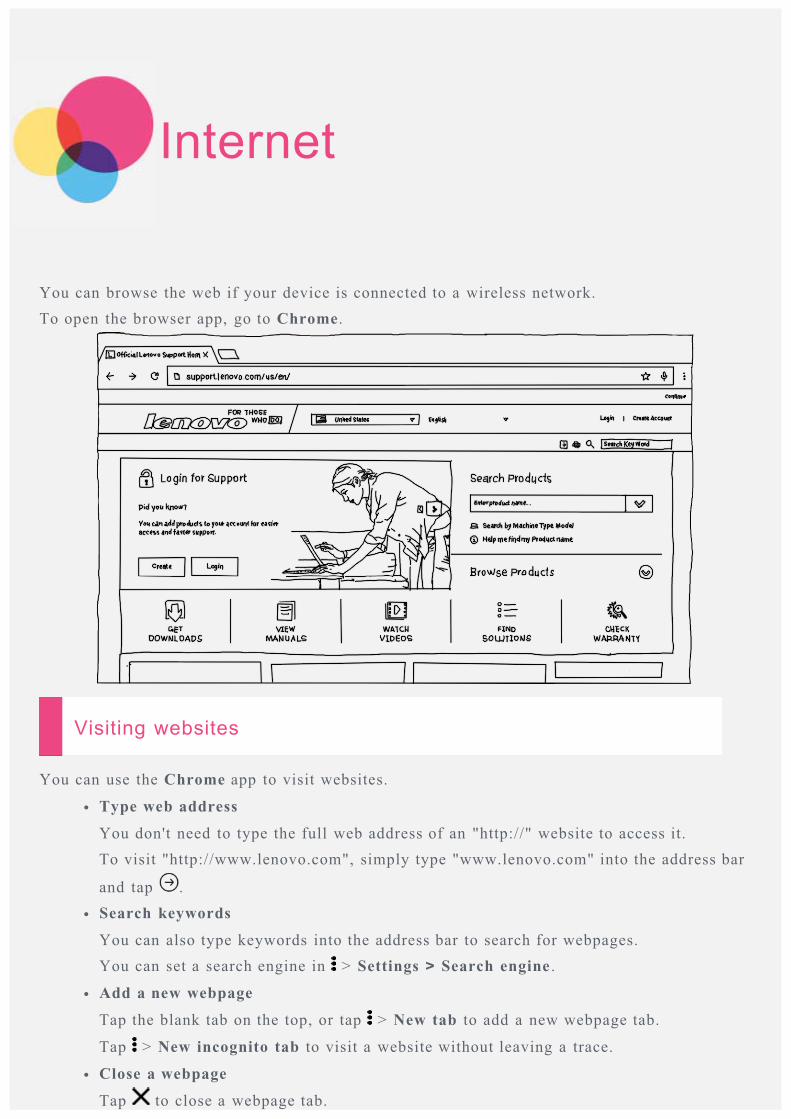
Internet
You can browse the web if your device is connected to a wireless network.To open the browser app, go to Chrome.
Visiting websites
You can use the Chrome app to visit websites.
Type web address
You don't need to type the full web address of an "http://" website to access it.To visit "http://www.lenovo.com", simply type "www.lenovo.com" into the address bar
and tap .Search keywords
You can also type keywords into the address bar to search for webpages.You can set a search engine in > Settings > Search engine .
Add a new webpage
Tap the blank tab on the top, or tap > New tab to add a new webpage tab.
Tap > New incognito tab to visit a website without leaving a trace.
Close a webpage
Tap to close a webpage tab.
Refresh a webpage
Tap to refresh a webpage.
Tap to return to the previous webpage.
Tap to go forward to a recent webpage.
Saving webpages
You can save images and webpages in your device's internal storage.Save images
Tap and hold the image, then tap Save image.
Bookmark webpages
Tap , then tap Save to add a webpage to Bookmarks.
Tap > Bookmarks , to view Mobile bookmarks .
Setting accessibility preferences
Tap > Settings > Accessibility to set the text scaling and the webpage zoom.
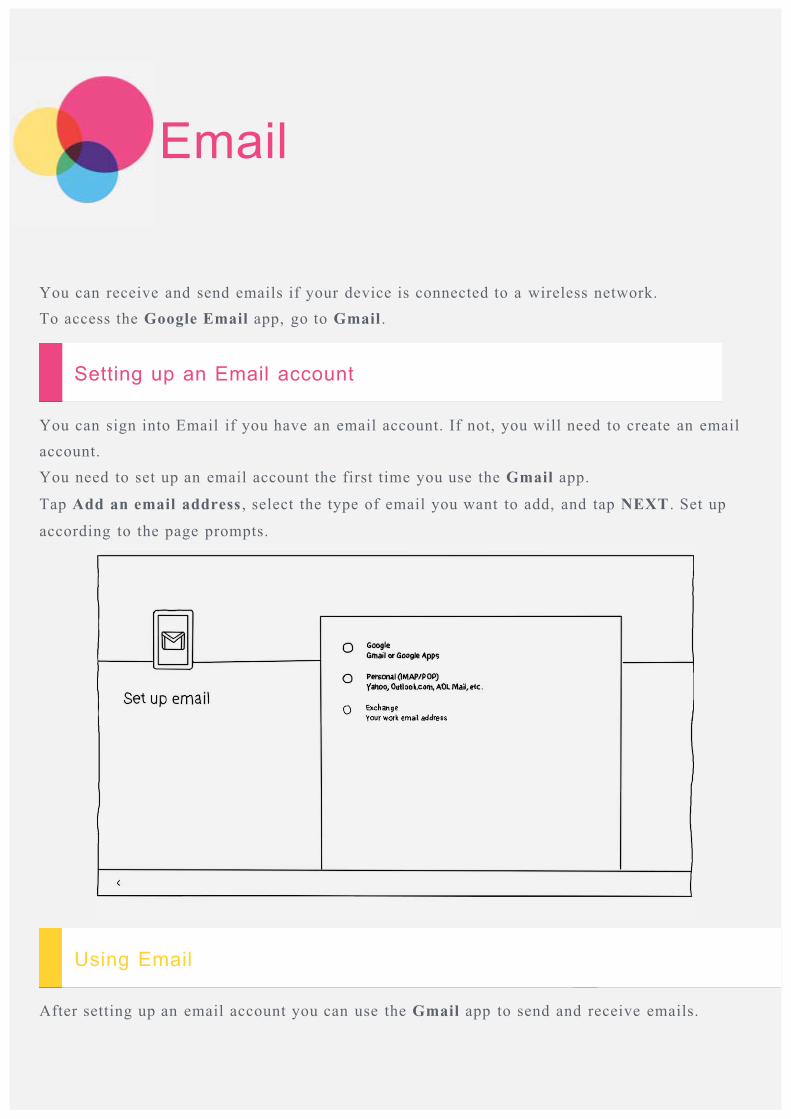
You can receive and send emails if your device is connected to a wireless network.To access the Google Email app, go to Gmail .
Setting up an Email account
You can sign into Email if you have an email account. If not, you will need to create an emailaccount.You need to set up an email account the first time you use the Gmail app.
Tap Add an email address , select the type of email you want to add, and tap NEXT . Set up
according to the page prompts.
Using Email
After setting up an email account you can use the Gmail app to send and receive emails.
Maps
You need to select the following settings before you use Maps .
Go to Settings > Location and enable location access for Google apps.
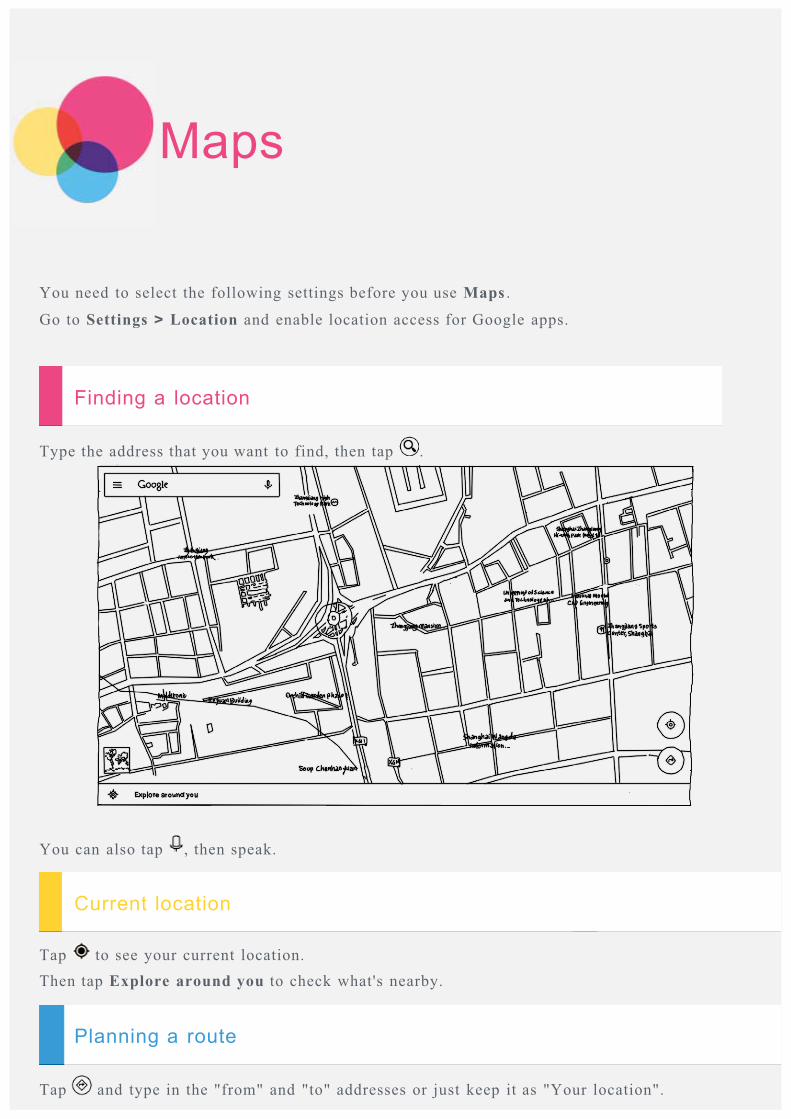
Finding a location
Type the address that you want to find, then tap .
You can also tap , then speak.
Current location
Tap to see your current location.Then tap Explore around you to check what's nearby.
Planning a route
Tap and type in the "from" and "to" addresses or just keep it as "Your location".
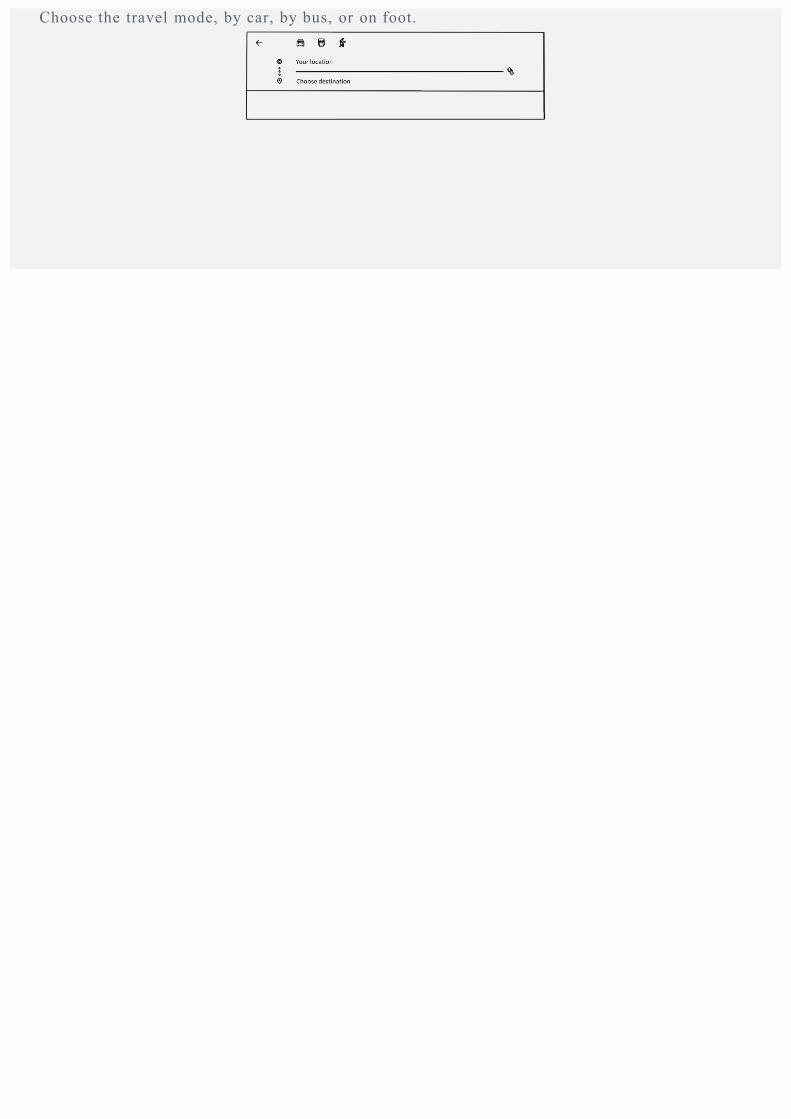
Choose the travel mode, by car, by bus, or on foot.
Communication
You can manage contacts with the Contacts app. You can create a contact, and import andexport contacts.
Creating a contact
Go to Contacts .
Tap to create a contact.Enter the contact information, such as "Name", "Mobile", "Home" and so on. You can save it in the tablet or Micro SIM card. When you're done, tap Save.
Importing and exporting contacts
Go to Contacts .
Tap > More features and settings > Import/Export contacts.
Select Import from storage . Choose the vCard files to be imported, then tap Import.
Or select Export to storage , and tap OK.
Communication
You can use your device to send a message and manage contacts.
Managing contacts
You can manage contacts with the Contacts app. You can create a contact, and import and
export contacts.
Creating a contact
Go to Contacts .
Tap to add a contact.Enter the contact information, such as "Name", "Mobile", "Home" and so on. You can save it in the tablet or SIM card. When you're done, tap Save.
Importing and exporting contacts
Go to Contacts .
Tap > More features and settings > Import/Export contacts.
Select Import from storage . Choose the vCard files to be imported, then tap Import.
Or select Export to storage , and tap OK.
Sending a message
Go to Contacts , choose a name, then tap the phone number to write a new message.
Sync
You can transfer data between your device and computer. Transfer music, pictures, videos,documents, Android application package (APK) files, and so on.
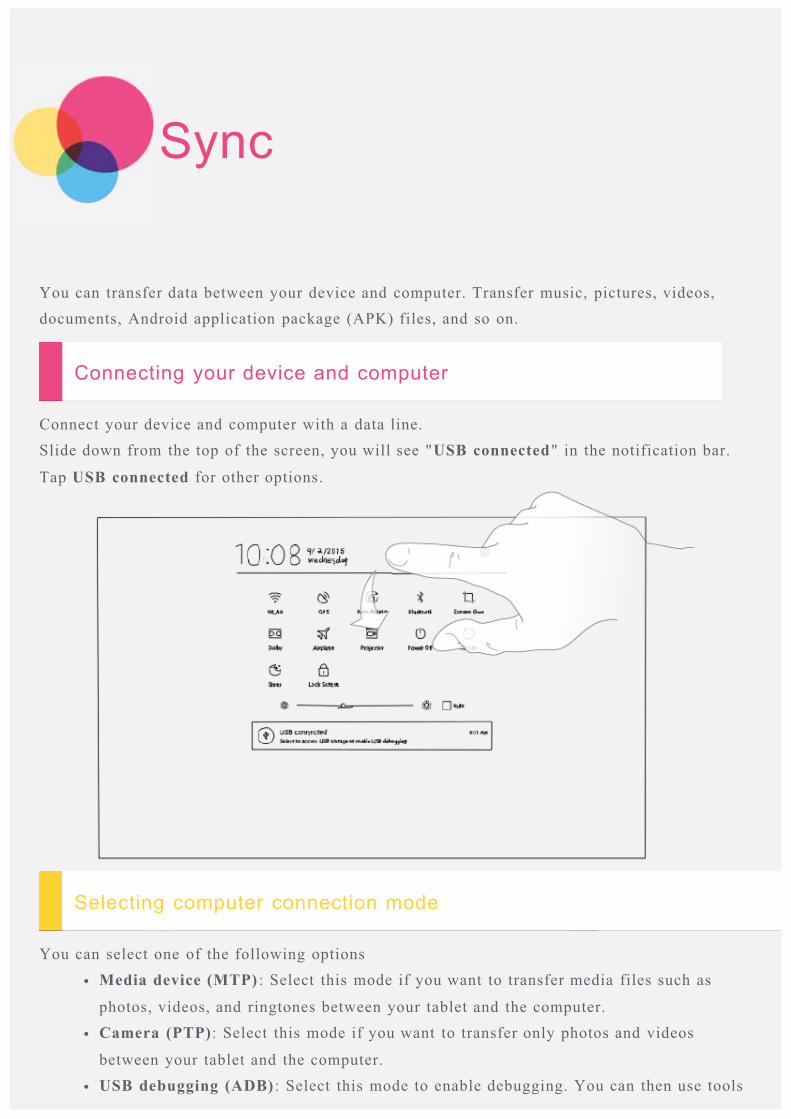
Connecting your device and computer
Connect your device and computer with a data line.Slide down from the top of the screen, you will see "USB connected" in the notification bar.
Tap USB connected for other options.
Selecting computer connection mode
You can select one of the following optionsMedia device (MTP) : Select this mode if you want to transfer media files such as
photos, videos, and ringtones between your tablet and the computer.Camera (PTP): Select this mode if you want to transfer only photos and videos
between your tablet and the computer.USB debugging (ADB) : Select this mode to enable debugging. You can then use tools
such as Idea Tool on the computer to manage your tablet's data.
Installing APK
Follow these steps:
You need to set the device to allow installation of apps obtained from unknownsources. Go to Settings > Security, select Unknown sources and tap OK.
Copy the APK file from the computer to the device in "Media device (MTP)" mode.
Open the apps category in the File Browser .
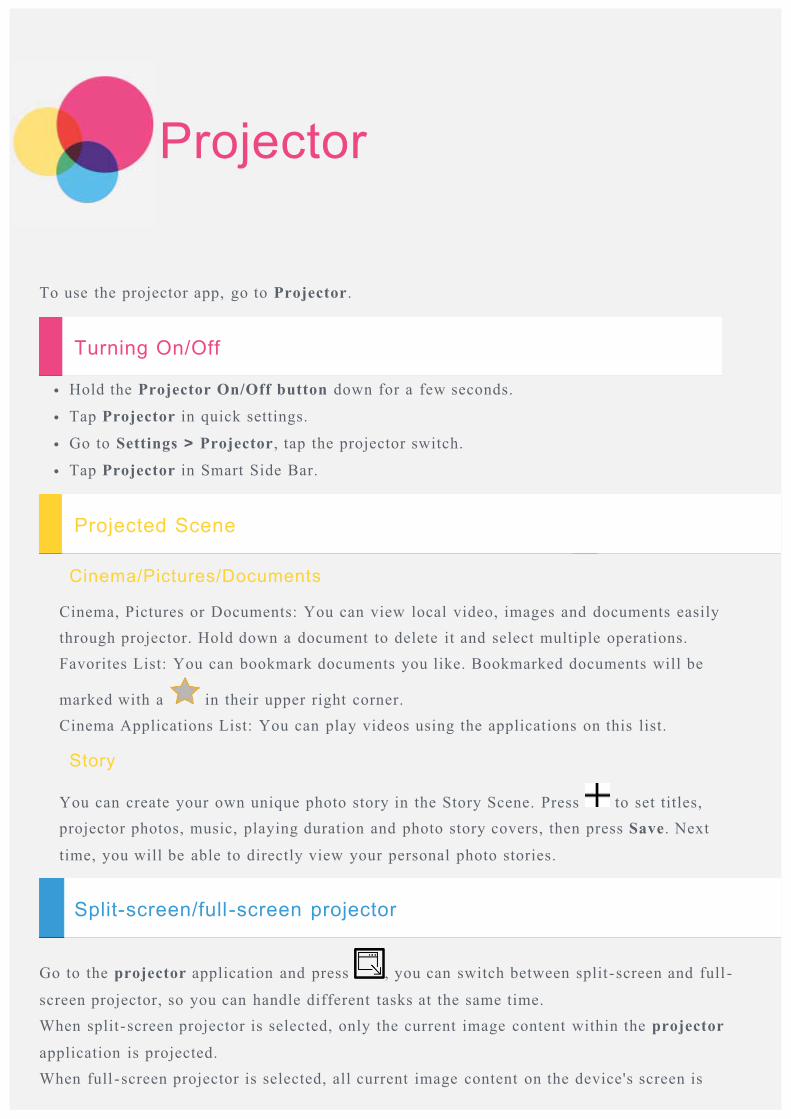
Projector
To use the projector app, go to Projector.
Turning On/Off
Hold the Projector On/Off button down for a few seconds.
Tap Projector in quick settings.
Go to Settings > Projector, tap the projector switch.
Tap Projector in Smart Side Bar.
Projected Scene
Cinema/Pictures/Documents
Cinema, Pictures or Documents: You can view local video, images and documents easilythrough projector. Hold down a document to delete it and select multiple operations.Favorites List: You can bookmark documents you like. Bookmarked documents will be
marked with a in their upper right corner.Cinema Applications List: You can play videos using the applications on this list.
Story
You can create your own unique photo story in the Story Scene. Press to set titles,projector photos, music, playing duration and photo story covers, then press Save. Next
time, you will be able to directly view your personal photo stories.
Split-screen/full -screen projector
Go to the projector application and press , you can switch between split-screen and full -
screen projector, so you can handle different tasks at the same time.When split-screen projector is selected, only the current image content within the projector
application is projected.When full -screen projector is selected, all current image content on the device's screen is
projected.
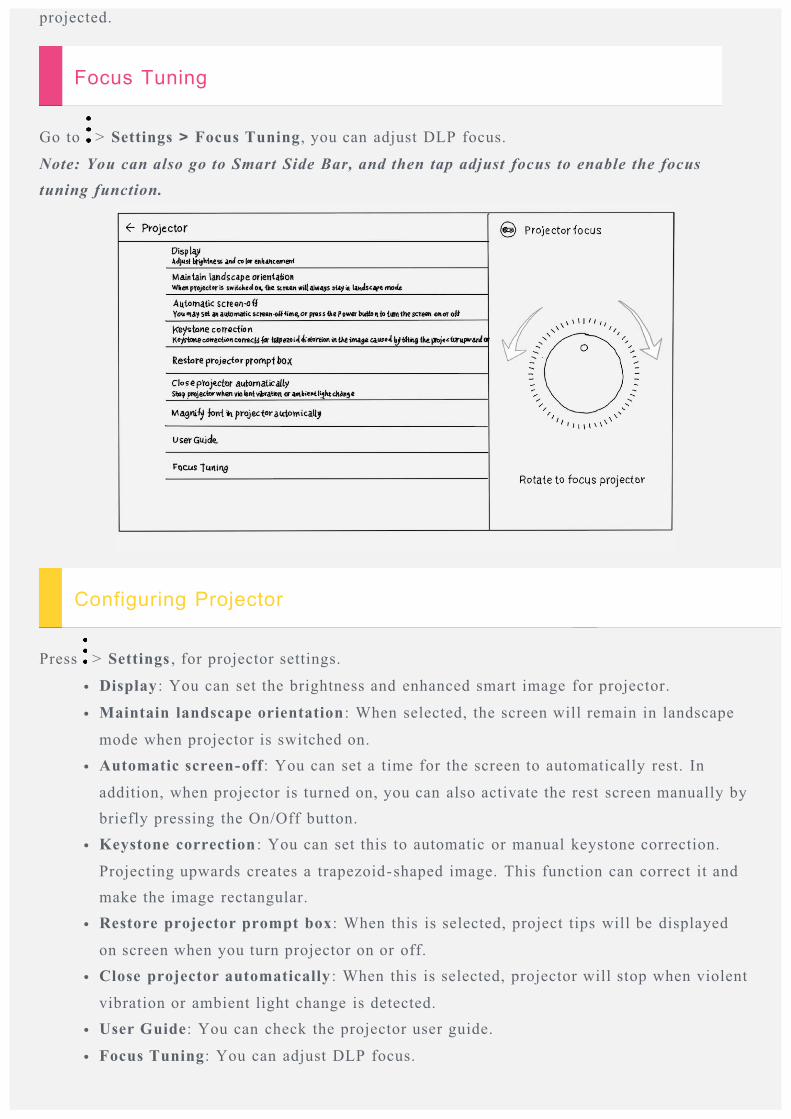
Focus Tuning
Go to > Settings > Focus Tuning, you can adjust DLP focus.
Note: You can also go to Smart Side Bar, and then tap adjust focus to enable the focustuning function.
Configuring Projector
Press > Settings , for projector settings.
Display : You can set the brightness and enhanced smart image for projector.
Maintain landscape orientation : When selected, the screen will remain in landscape
mode when projector is switched on.Automatic screen-off: You can set a time for the screen to automatically rest. In
addition, when projector is turned on, you can also activate the rest screen manually bybriefly pressing the On/Off button.Keystone correction : You can set this to automatic or manual keystone correction.
Projecting upwards creates a trapezoid-shaped image. This function can correct it andmake the image rectangular.Restore projector prompt box: When this is selected, project tips will be displayed
on screen when you turn projector on or off.Close projector automatically : When this is selected, projector will stop when violent
vibration or ambient light change is detected.User Guide: You can check the projector user guide.
Focus Tuning: You can adjust DLP focus.
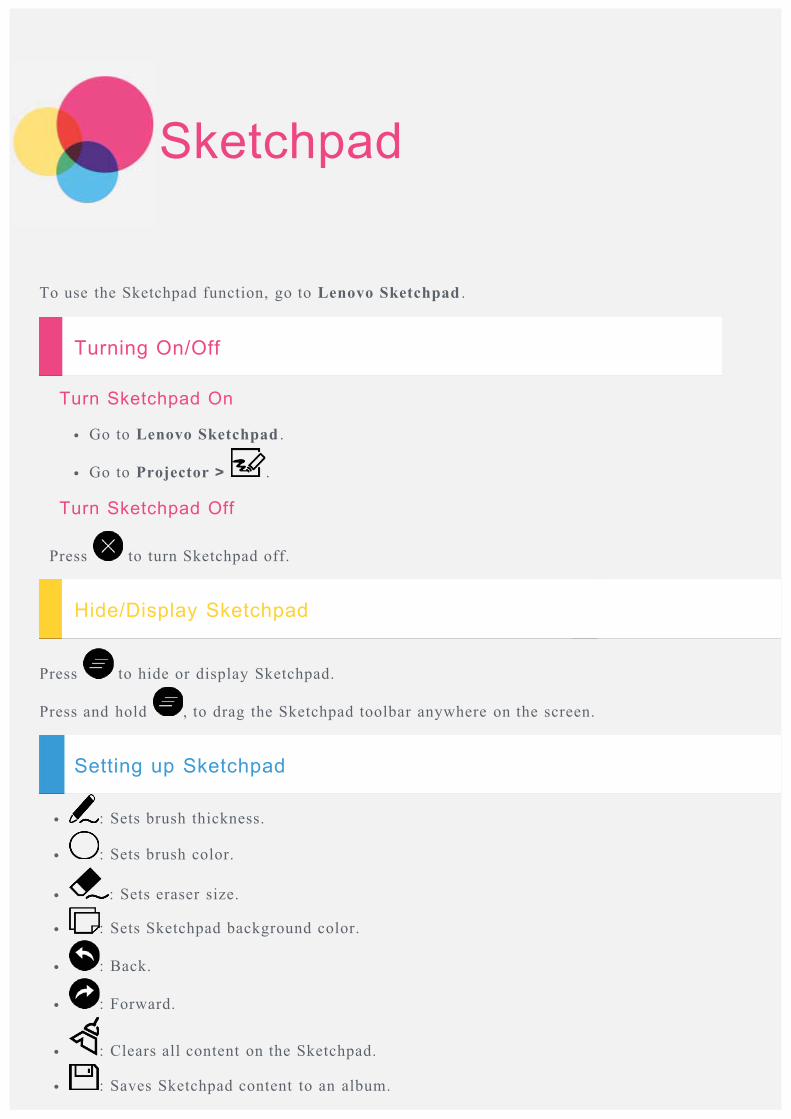
Sketchpad
To use the Sketchpad function, go to Lenovo Sketchpad .
Turning On/Off
Turn Sketchpad On
Go to Lenovo Sketchpad .
Go to Projector > .
Turn Sketchpad Off
Press to turn Sketchpad off.
Hide/Display Sketchpad
Press to hide or display Sketchpad.
Press and hold , to drag the Sketchpad toolbar anywhere on the screen.
Setting up Sketchpad
: Sets brush thickness.
: Sets brush color.
: Sets eraser size.
: Sets Sketchpad background color.
: Back.
: Forward.
: Clears all content on the Sketchpad.
: Saves Sketchpad content to an album.
Personalize
You can personalize your device settings.
Smart Side Bar
To open the Smart Side Bar app, go to Settings > Smart Side Bar .
You can do the following operations through the Smart Side Bar.You can quickly open the camera, projector and other applications.You can quickly view your photos.Customize or manually set the display mode and audio mode.
When device is rotated
You can makes all applications automatically rotate upwards or downwards.Go to Settings > Display > When device is rotated to open the screen rotation function.
Rotate the contents of the screen
The screen orientation changes automatically.Stay in current orientation
The orientation is locked.

Appendix
Important safety and handling information
To avoid personal injury, property damage, or accidental damage to the product, read all of theinformation in this section before using the product. For additional tips to help you operateyour device safely, go to: http://www.lenovo.com/safety.
Handle your device with care
Do not drop, bend, or puncture your device; do not insert foreign objects into or place heavyobjects on your device. Sensitive components inside might become damaged.Your device screen is made of glass. The glass might break if the device is dropped on a hardsurface, is subjected to a high impact, or is crushed by a heavy object. If the glass chips orcracks, do not touch the broken glass or attempt to remove it from the device. Stop using thedevice immediately and contact Lenovo technical support for repair, replacement, or disposalinformation.When using your device, keep it away from hot or high-voltage environments, such aselectrical appliances, electrical heating equipment, or electrical cooking equipment. Use yourdevice only in the temperature range of 0°C (32°F) to 40°C (104°F) (storage -20°C (-4°F) to60 °C (140°F)) to avoid damage.
Do not disassemble or modify your device
Your device is a sealed unit. There are no end-user serviceable parts inside. All internal repairsmust be done by a Lenovo-authorized repair facility or a Lenovo-authorized technician.Attempting to open or modify your device will void the warranty.
Built -in rechargeable battery notice
Do not attempt to replace the internal rechargeable lithium ion battery. There is risk ofexplosion if the battery is replaced with an incorrect type. Contact Lenovo Support for factoryreplacement.
Plastic bag notice
DANGER:Plastic bags can be dangerous. Keep plastic bags away from babies and children to avoid
danger of suffocation.
Adapter information
Prevent your device and AC adapter from getting wet.
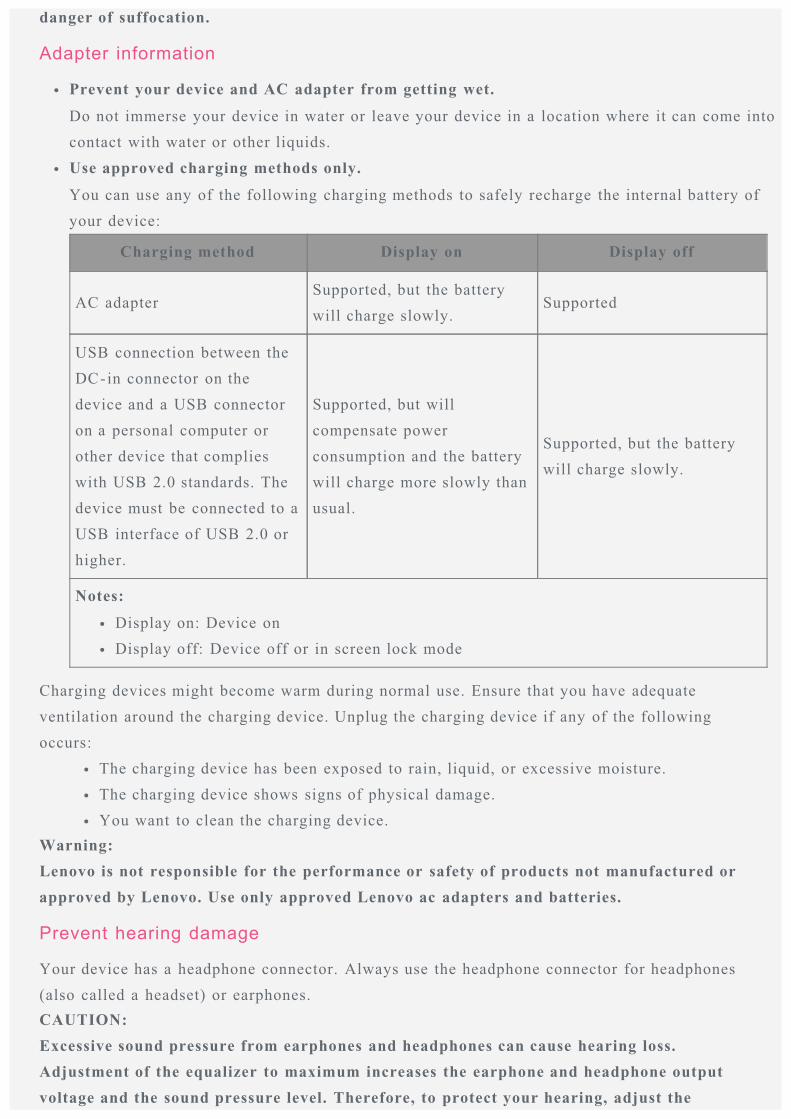
Do not immerse your device in water or leave your device in a location where it can come intocontact with water or other liquids.Use approved charging methods only.
You can use any of the following charging methods to safely recharge the internal battery ofyour device:
Charging method Display on Display off
AC adapterSupported, but the batterywill charge slowly.
Supported
USB connection between theDC-in connector on thedevice and a USB connectoron a personal computer orother device that complieswith USB 2.0 standards. Thedevice must be connected to aUSB interface of USB 2.0 orhigher.
Supported, but willcompensate powerconsumption and the batterywill charge more slowly thanusual.
Supported, but the batterywill charge slowly.
Notes:
Display on: Device onDisplay off: Device off or in screen lock mode
Charging devices might become warm during normal use. Ensure that you have adequateventilation around the charging device. Unplug the charging device if any of the followingoccurs:
The charging device has been exposed to rain, liquid, or excessive moisture.The charging device shows signs of physical damage.You want to clean the charging device.
Warning:Lenovo is not responsible for the performance or safety of products not manufactured orapproved by Lenovo. Use only approved Lenovo ac adapters and batteries.
Prevent hearing damage
Your device has a headphone connector. Always use the headphone connector for headphones(also called a headset) or earphones.CAUTION:Excessive sound pressure from earphones and headphones can cause hearing loss.Adjustment of the equalizer to maximum increases the earphone and headphone outputvoltage and the sound pressure level. Therefore, to protect your hearing, adjust the
equalizer to an appropriate level.
Excessive use of headphones or earphones for a long period of time at high volume can bedangerous if the output of the headphone or earphone connectors do not comply withspecifications of EN 50332-2.The headphone output connector of your device complies with EN 50332-2 Sub clause 7. Thisspecification limits the device's maximum wide band true RMS output voltage to 150 mV. Tohelp protect against hearing loss, ensure that the headphones or earphones you use also complywith EN 50332-2 (Clause 7 limits) for a wide band characteristic voltage of 75 mV. Usingheadphones that do not comply with EN 50332-2 can be dangerous due to excessive soundpressure levels.If your device came with headphones or earphones in the package, as a set, the combination ofthe headphones or earphones and the device already complies with the specifications of EN50332-1. If different headphones or earphones are used, ensure that they comply with EN50332-1 (Clause 6.5 limits). Using headphones that do not comply with EN 50332-1 can bedangerous due to excessive sound pressure levels.
Sound pressure warning statement
For devices that are tested in accordance with EN 60950-1:2006+A11:2009:+A1:2010+A12:2011, it is mandatory to perform audio tests for EN50332. Thisdevice has been tested to comply with the Sound Pressure Level requirement laid down in theapplicable EN 50332-1 and/or EN 50332-2 standards. Permanent hearing loss may occur ifearphones or headphones are used at high volume for prolonged periods of time.Warning statementTo prevent possible hearing damage, do not listen at high volume levels for a long periodof time.
Take care when using your device in a motor vehicle or on a bicycle
Always prioritize your safety and the safety of others. Follow the law. Local laws andregulations might govern how you can use mobile electronic devices, such as your device,while you drive a motor vehicle or ride a bicycle.
Dispose according to local laws and regulations
When your device reaches the end of its useful life, do not crush, incinerate, immerse in water,or dispose of your device in any manner contrary to local laws and regulations. Some internalparts contain substances that can explode, leak, or have an adverse environmental effects ifdisposed of incorrectly.See “Recycling and environmental information” for additional information.
Keep your device and accessories away from small children
Your device contains small parts that can be a choking hazard to small children. Additionally,the glass screen can break or crack if dropped on or thrown against a hard surface.
Protect your data and software
Do not delete unknown files or change the name of files or directories that were not created by
you; otherwise, your device software might fail to work.Be aware that accessing network resources can leave your device vulnerable to computerviruses, hackers, spyware, and other malicious activities that might damage your device,software, or data. It is your responsibility to ensure that you have adequate protection in theform of firewalls, antivirus software, and anti-spyware software and keep such software up todate.Keep electrical appliances away from your device. These include electric fans, radios, high-powered speakers, air-conditioners, and microwave ovens. The strong magnetic fieldsgenerated by electrical appliances can damage the screen and the data on the device.
Be aware of heat generated by your device
When your device is turned on or the battery is charging, some parts might become hot. Thetemperature that they reach depends on the amount of system activity and the battery chargelevel. Extended contact with your body, even through clothing, could cause discomfort or evena skin burn. Avoid keeping your hands, your lap, or any other part of your body in contact witha hot section of the device for any extended time.
Polyvinyl Chloride (PVC) cable and cord notice
WARNING: Handling the cord on this product or cords associated with accessories sold withthis product will expose you to lead, a chemical known to the State of California to causecancer, and birth defects or other reproductive harm. Wash hands after handling.
Electronic emission notices
FCC Compliance Statement
This equipment has been tested and found to comply with the limits for a Class B digitaldevice, pursuant to Part 15 of the FCC Rules. These limits are designed to provide reasonableprotection against harmful interference in a residential installation. This equipment generates,uses, and can radiate radio frequency energy and, if not installed and used in accordance withthe instructions, may cause harmful interference to radio communications. However, there is noguarantee that interference will not occur in a particular installation. If this equipment doescause harmful interference to radio or television reception, which can be determined by turningthe equipment off and on, the user is encouraged to try to correct the interference by one ormore of the following measures:
Reorient or relocate the receiving antenna.Increase the separation between the equipment and receiver.Connect the equipment into an outlet on a circuit different from that to which thereceiver is connected.Consult an authorized dealer or service representative for help.
Lenovo is not responsible for any radio or television interference caused by unauthorizedchanges or modifications to this equipment. Unauthorized changes or modifications could voidthe user’s authority to operate the equipment.
This device complies with Part 15 of the FCC Rules. Operation is subject to the following twoconditions: (1) this device may not cause harmful interference, and (2) this device must acceptany interference received, including interference that may cause undesired operation.Responsible Party:Lenovo (United States) Incorporated1009 Think Place - Building OneMorrisville, NC 27560Telephone: 1-919-294-5900
IC Caution
This device complies with Industry Canada license-exempt RSS standard(s). Operation issubject to the following two conditions: (1) This device may not cause interference, and (2) this device must accept any interference, including interference that may cause undesiredoperation of the device.Le présent appareil est conforme aux CNR d'Industrie Canada applicables aux appareils radioexempts de licence. L'exploitation est autorisée aux deux conditions suivantes:(1) l'appareil ne doit pas produire de brouillage, et(2) l'utilisateur de l'appareil doit accepter tout brouillage radioélectrique subi, même si lebrouillage est susceptible d'en
European Union-Compliance to the Electromagnetic Compatibility Directive
This product is in conformity with the protection requirements of EU Council Directive2004/108/EC on the approximation of the laws of the Member States relating toelectromagnetic compatibility. Lenovo cannot accept responsibility for any failure to satisfythe protection requirements resulting from a nonrecommended modification of the product,including the installation of option cards from other manufacturers.This product has been tested and found to comply with the limits for Class B InformationTechnology Equipment according to European Standard EN 55022. The limits for Class Bequipment were derived for typical residential environments to provide reasonable protectionagainst interference with licensed communication devices.EU contact: Lenovo, Einsteinova 21, 851 01 Bratislava, Slovakia
German Class B compliance statement
Deutschsprachiger EU Hinweis:
Hinweis für Geräte der Klasse B EU-Richtlinie zur Elektromagnetischen Verträglichkeit DiesesProdukt entspricht den Schutzanforderungen der EU-Richtlinie 2004/108/EG (früher89/336/EWG) zur Angleichung der Rechtsvorschriften über die elektromagnetischeVerträglichkeit in den EU-Mitgliedsstaaten und hält die Grenzwerte der EN 55022 Klasse Bein. Um dieses sicherzustellen, sind die Geräte wie in den Handbüchern beschrieben zuinstallieren und zu betreiben. Des Weiteren dürfen auch nur von der Lenovo empfohlene Kabelangeschlossen werden. Lenovo übernimmt keine Verantwortung für die Einhaltung der

Schutzanforderungen, wenn das Produkt ohne Zustimmung der Lenovo verändert bzw. wennErweiterungskomponenten von Fremdherstellern ohne Empfehlung der Lenovogesteckt/eingebaut werden.Deutschland:
Einhaltung des Gesetzes über die elektromagnetische Verträglichkeit von BetriebsmittelnDieses Produkt entspricht dem „Gesetz über die elektromagnetische Verträglichkeit vonBetriebsmitteln“ EMVG (früher „Gesetz über die elektromagnetische Verträglichkeit vonGeräten“). Dies ist die Umsetzung der EU-Richtlinie 2004/108/EG (früher 89/336/EWG) in derBundesrepublik Deutschland.Zulassungsbescheinigung laut dem Deutschen Gesetz über die elektromagnetischeVerträglichkeit von Betriebsmitteln, EMVG vom 20. Juli 2007 (früher Gesetz über dieelektromagnetische Verträglichkeit von Geräten), bzw. der EMV EG Richtlinie 2004/108/EC(früher 89/336/EWG), für Geräte der Klasse B.Dieses Gerät ist berechtigt, in Übereinstimmung mit dem Deutschen EMVG das EG-Konformitätszeichen - CE - zu führen. Verantwortlich für die Konformitätserklärung nachParagraf 5 des EMVG ist die Lenovo (Deutschland) GmbH, Gropiusplatz 10, D-70563Stuttgart.Informationen in Hinsicht EMVG Paragraf 4 Abs. (1) 4:Das Gerät erfüllt die Schutzanforderungen nach EN 55024 und EN 55022 Klasse B.
Korea Class B compliance statement
B급 기기(가정용 방송통신기자재)
이 기기는 가정용(B급)전자파적합기기로서 주로 가정에서 사용하는
것을 목적으로 하며 모든 지역에서 사용할 수 있습니다.
Japanese VCCI Class B statement
この装置は、クラスB情報技術装置です。この装置は、家庭環境で使用することを目的としていますが、この装置がラジオやテレビジョン受信機に近接して使用されると、受信障害を引き起こすことがあります。 取扱説明書に従って正しい取り扱いをして下さい。 VCCI-B
Japan compliance statement for products that connect to power mains rated atless than or equal to 20A per phase
日本の定格電流が 20A/相 以下の機器に対する高調波電流規制高調波電流規格 JIS C 61000-3-2 適合品
Environmental, recycling, and disposal information
General recycling statement
Lenovo encourages owners of information technology (IT) equipment to responsibly recycletheir equipment when it is no longer needed. Lenovo offers a variety of programs and servicesto assist equipment owners in recycling their IT products. For information on recycling Lenovoproducts, go to: http://www.lenovo.com/recycling.
Important WEEE information
Electrical and electronic equipment marked with the symbol of a crossed-out wheeled bin maynot be disposed as unsorted municipal waste. Waste of electrical and electronic equipment(WEEE) shall be treated separately using the collection framework available to customers forthe return, recycling, and treatment of WEEE.Country-specific information is available athttp://www.lenovo.com/recycling.
Battery recycling information for Brazil
Declarações de Reciclagem no Brasil
Descarte de um Produto Lenovo Fora de Uso Equipamentos elétricos e eletrônicos não devemser descartados em lixo comum, mas enviados à pontos de coleta, autorizados pelo fabricantedo produto para que sejam encaminhados e processados por empresas especializadas nomanuseio de resíduos industriais, devidamente certificadas pelos orgãos ambientais, de acordocom a legislação local. A Lenovo possui um canal específico para auxiliá- lo no descarte dessesprodutos. Caso você possua um produto Lenovo em situação de descarte, ligue para o nossoSAC ou encaminhe um e -mail para: [email protected], informando o modelo, número desérie e cidade, a fim de enviarmos as instruções para o correto descarte do seu produto Lenovo.
Recycling information for Japan
Recycling and disposal information for Japan is available at:http://www.lenovo.com/recycling/japan.
Recycling information for India
Recycling and disposal information for India is available at:http://www.lenovo.com/social_responsibility/us/en/sustainability/ptb_india.html.
Battery recycling marks
The battery recycling information of Taiwan
Battery recycling information for the United States and Canada
Battery recycling information for the European Union
ENERGY STAR model information
ENERGY STAR® is a joint program of the U.S. Environmental Protection Agency and theU.S. Department of Energy aimed at saving money and protecting the environment throughenergy efficient products and practices.Lenovo is proud to offer our customers products with the ENERGY STAR qualifieddesignation. Lenovo YT3–X90F has been designed and tested to conform to the ENERGYSTAR program requirements for computers.By using ENERGY STAR qualified products and taking advantage of the powermanagementfeatures of your computer, you can help reduce the consumption of electricity. Reducedelectrical consumption can contribute to potential financial savings, a cleaner environment, andthe reduction of greenhouse gas emissions.For more information about ENERGY STAR, go to: http://www.energystar.gov.
Export classification notice
This tablet product is subject to the United States Export Administration regulations (EAR) andhas an Export Classification Control Number (ECCN) of 5A992.c mass market. The tablet canbe re-exported except to any of the embargoed countries in the EAR E1 country list.
Troubleshooting
Insufficient memory prompt appears during app installation
Please free up some memory and try to install again.
The touch screen does not work or is not sensitive
Please hold down the On/Off button for more than 10 seconds until the device turns off. Thenswitch it on again in normal way.
Device does not power on or system crashes
Please charge the battery for half an hour and then hold down the On/Off button for more than
10 seconds until the device turns off. Then switch it on again in normal way.
The device cannot access the internet via wireless network
Restart the wireless router or go to Settings and restart WLAN.
The device cannot wake up from sleep mode
Please hold down the On/Off button for more than 10 seconds until the device turns off. Thenswitch it on again in normal way.


