27
Print Server Series PS-1207U/PS-1208UWg PS-1206U/PS-1206UWg PS-1206P/PS-1206PWg PS-3207U/PS-3207UWg Quick Installation Guide Version 1.0 (February 2008)
Print Server Series
PS-1207U/PS-1208UWg PS-1206U/PS-1206UWg PS-1206P/PS-1206PWg PS-3207U/PS-3207UWg
Quick Installation Guide
Version 1.0 (February 2008)

1
Multi-Languages QIG in Driver CD ================================================ Český: Českého průvodce rychlou instalací naleznete na přiloženém CD s
ovladači Deutsch: Finden Sie bitte das deutsche QIG beiliegend in der Treiber CD Español: Incluido en el CD el QIG en Español Français: Veuillez trouver l’français QIG ci-joint dans le CD Italiano: Incluso nel CD il QIG in Italiano Magyar: A magyar telepítési útmutató megtalálható a mellékelt CD-n Nederlands: De nederlandse QIG treft u aan op de bijgesloten CD Polski: Skrócona instrukcja instalacji w języku polskim znajduje się na
załączonej płycie CD Português: Incluído no CD o QIG em Portugues Русский: Найдите QIG на pусскoм языке на приложеном CD Romana: Cd-ul cuprinde Ghid de instalare rapida in limba romana Slovensky: Anglického sprievodcu rýchlou inštaláciou nájdete na
priloženom CD s ovládačmi. Türkçe: Ürün ile beraber gelen CD içinde Türkçe Hızlı Kurulum
Kılavuzu'nu bulabilirsiniz 简体中文: 产品包装 CD 光盘中含有简体中文版快速安装手冊 繁體中文: 產品包裝隨附 CD 中含有繁體中文版快速安裝指南

2
Index
1. Product Introduction……………………………………………...3
2. Package Contents………………………………………………..4
3. Hardware Installation…………………………………………….5
4. Software Installation……………………………………………...6
4.1. EZMax Installation Wizard…………………………………..6
4.2. Administration Utilities Installation………………………….7
4.3. Client Utilities Installation…………………………………..14
4.4. Windows Add Printer Procedure………………………….18
4.4.1 Windows Vista………………………..……………..18 4.4.2 Windows XP……………………….…………….….22
3
1. Product Introduction Thank you for purchasing and using our print server. This print server allows your printer to become a shared device on the network. It offers printing flexibility and manageability on your Wired or Wireless Local Area Network with an absolute minimum setup and maintenance required. This print server supports TCP/IP, NetBEUI, IPX/SPX, and AppleTalk protocols. It is the best network printing solutions for various common network operating systems such as:
Windows 2000/XP/2003/Vista Linux (for LPR Printing only) MAC OS 9.x above ( for LPR Printing only)
With the help of Installation Wizard, you can easily and instantly complete the settings for the printing environment, and start enjoying the fantastic features provided by this print server. This guide is used for quick installation on Windows peer-to-peer printing environments. If you have a simple network you can simply follow the procedures described in this guide step-by-step to complete the installation. If you find any problem, please refer to the User’s Manual on the CD-ROM for more detail information.

4
2. Package Contents This package contains the following components:
One Print Server One Antenna (Only for PS-1206UWg & PS-1206PWg & PS-3207UWg) One Power Adapter One Quick Installation Guide One CD-ROM (Including EZMax Installation Wizard and User’s Guide)
5
3. Hardware Installation 1. Unpack the print server package and verify that all the items listed in the
previous section are provided.
2. Connect the print server to the printer you want to share on the network.
3. Connect the print server to your network by attached the network cable to the UTP port of the print server.
4. Connect the power adapter to the print server. The print server will perform the Power-On-Self-Test (POST) after it is powered on. During the POST, the Status LED will be blinking. When the Status LED is unlighted, the print server is ready.
Note: You must use the power adapter shipped along with the print server, do NOT use any other power adapter from other sources.
6
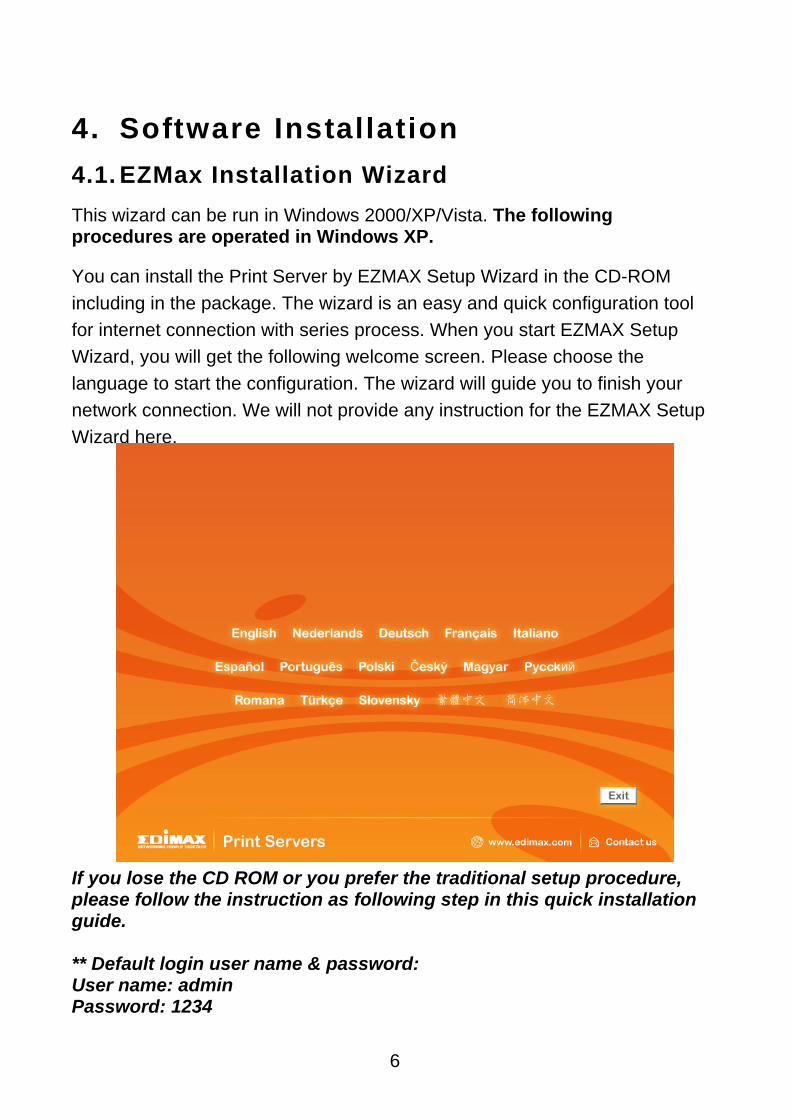
4. Software Installation 4.1. EZMax Installation Wizard This wizard can be run in Windows 2000/XP/Vista. The following procedures are operated in Windows XP. You can install the Print Server by EZMAX Setup Wizard in the CD-ROM including in the package. The wizard is an easy and quick configuration tool for internet connection with series process. When you start EZMAX Setup Wizard, you will get the following welcome screen. Please choose the language to start the configuration. The wizard will guide you to finish your network connection. We will not provide any instruction for the EZMAX Setup Wizard here.
If you lose the CD ROM or you prefer the traditional setup procedure, please follow the instruction as following step in this quick installation guide. ** Default login user name & password: User name: admin Password: 1234
7
4.2. Administration Utilities Installation **Please find the utility manually from CD-ROM drive’s root directory or download it from Edimax webiste. If you have any question please check with Edimax local technical support team. The Administrator Installation Program executes a wizard-driven procedure that performs the following tasks:
Install all necessary utilities and drivers in your PC (including the client utilities).
Prompt to configure the print server (including the print server name and IP Address).
Add the network port of the print server to your PC. After the installation, perform the standard “Add Printer” procedure and choose the print server’s “Network Port” in the “Available Ports” list. Then, you can test printing function from the Administrator PC. The Administrator Installation can be performed on Windows 2000/XP/2003/Vista with the same user interface. Before the installation, please verify that your network protocol is installed on your PC (TCP/IP, IPX and/or NetBEUI). Note that the following steps are running in Windows XP, for other Operation Systems the procedures are similar.
1. Please execute the Administrator installation software manually.

8
2. The “Print Server Utilities” window will be displayed. Please Click “Next”.
3. Please Click “Next” to install the utilities in the default folder or click “Change” to specify the destination folder where you would like to install the utilities.
9
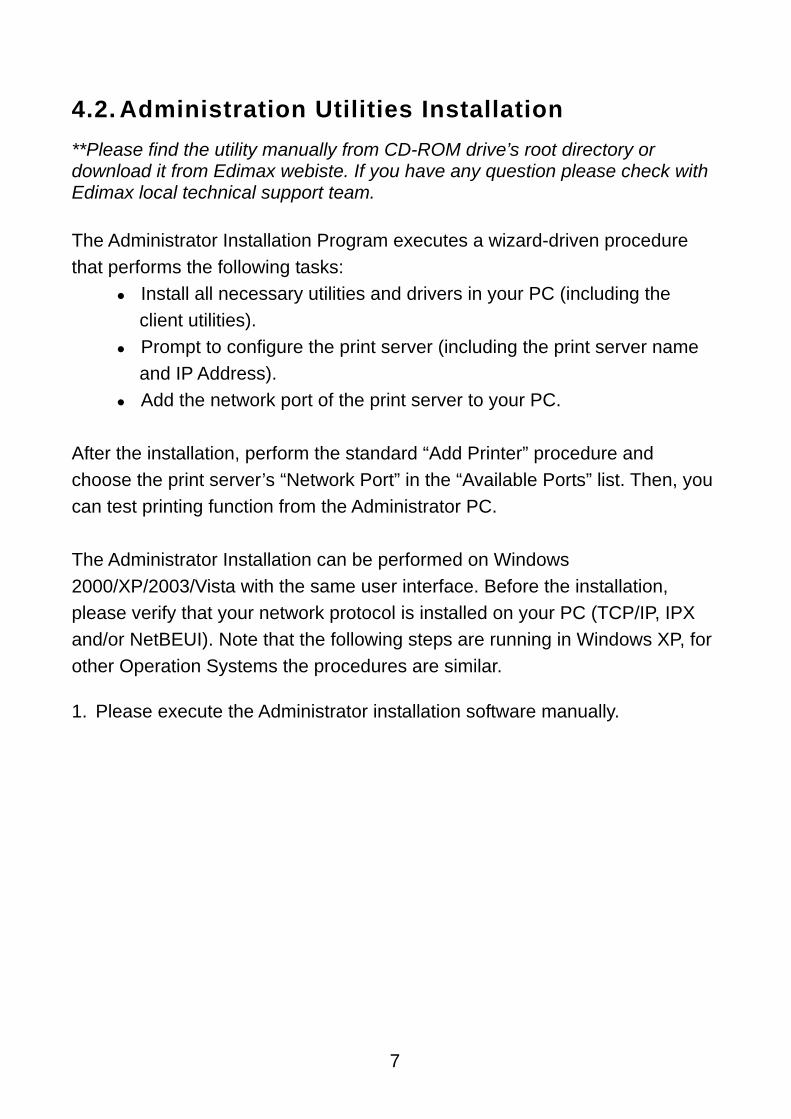
4. Select the components you want to install. It is highly recommended to install all provided components. Click “Next” to continue.
5. Click “Install”.

10
6. The system will start to install the utilities automatically.
7. You have completed the installation phase and prepare to configure the Print Server. The “Choose Print Server” will list all Print Servers within the network. Select the Print Server you would like to configure and click “Next”.
11
NOTE 1: If this is the first time you configure the Print Server, the “Print Server Name” is the last 6-digit of MAC ID with prefix “PS”. Please check the MAC ID on the print server.
NOTE 2: The list can only display the devices from Edimax.
8. Specify a recognizable name for the Print Server and click “Next”.
12
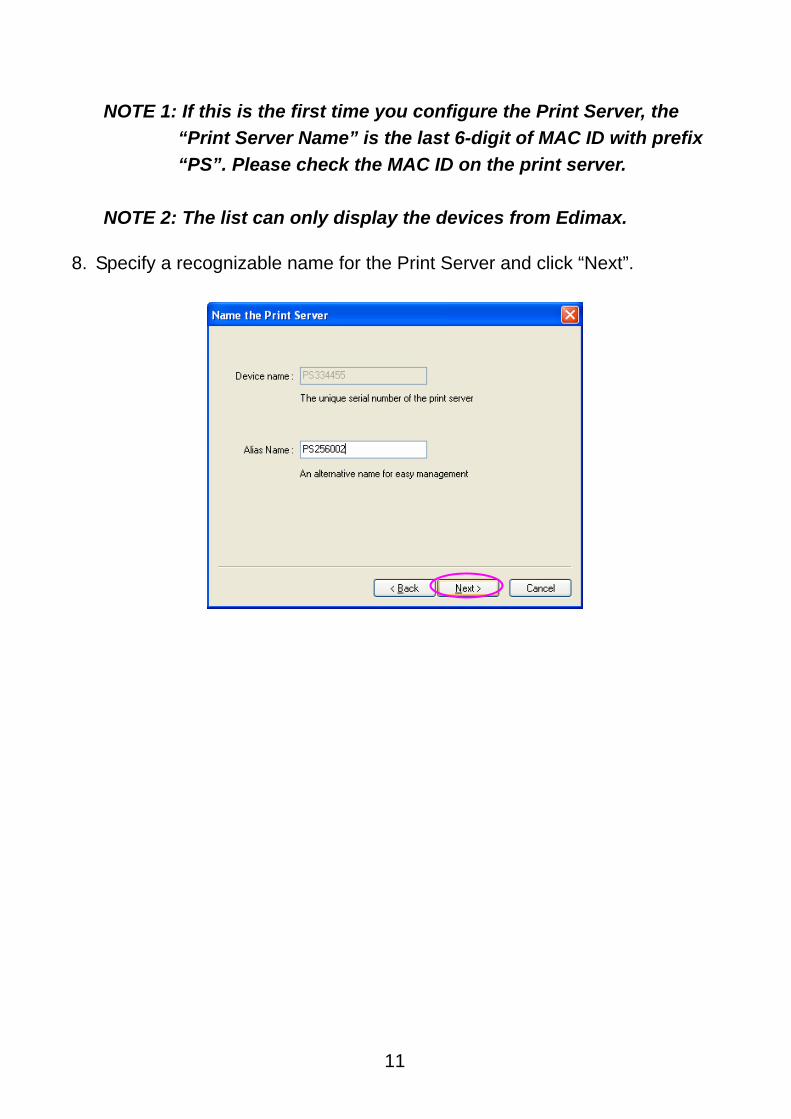
9. Specify the IP Address for the Print Server manually or click “Next” to keep default IP Address.
10. The configuration summary is displayed in the window. Now, you have completed the Print Server setup. Click “Finish” and your system will add network port of the Print Server to your PC automatically.
13
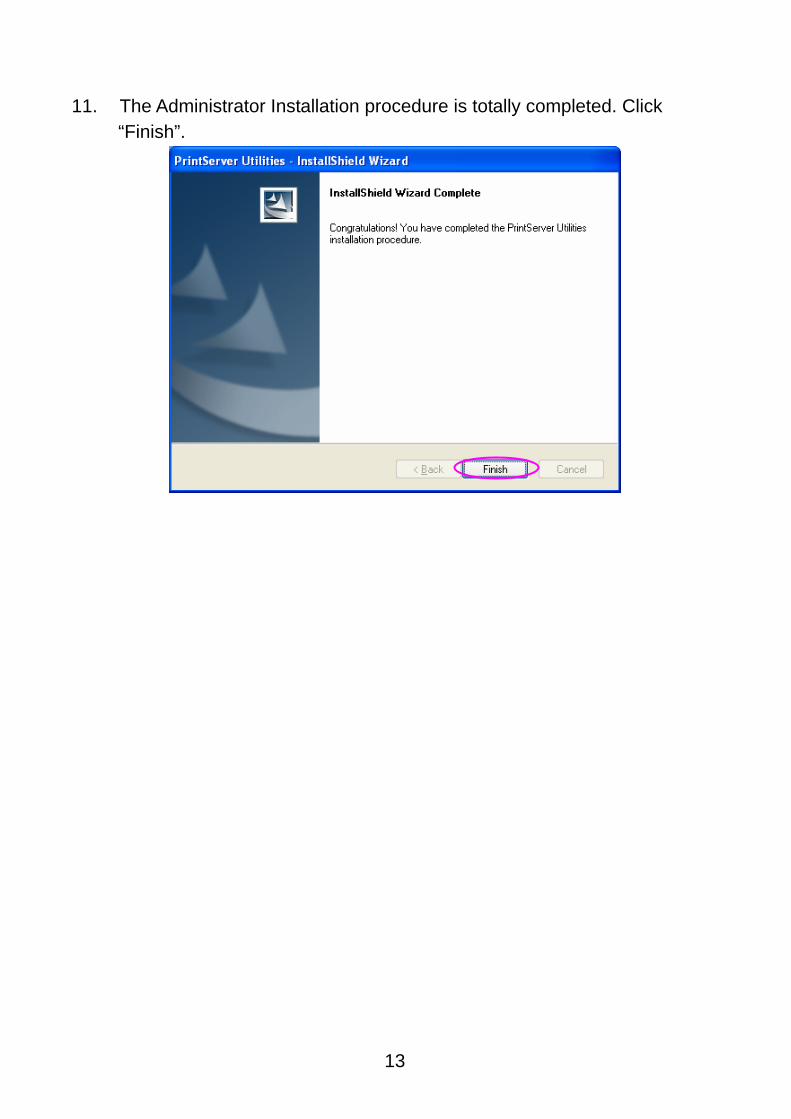
11. The Administrator Installation procedure is totally completed. Click “Finish”.
14
4.3. Client Utilities Installation *Please find the utility manually from CD-ROM drive’s root directory or download it from Edimax webiste. If you have any question please check with Edimax local technical support team. The Client Installation Program is a wizard driven procedure which will perform the following tasks:
Install client utilities and drivers into your PC. Automatically add all Network Ports to your PC.
The network port driver supports network protocol auto-detection. It will automatically select an available network protocol (TCP/IP, IPX or NetBEUI) of the client computer to connect to the print server. Since both the print server side and client side support multi-protocols, the configuration process of the client side is fully automatic. After the installation, perform the standard “Add Printer” procedure and choose the print server’s “Network Port” in the “Available Ports” list. You can test printing from the PC to the print server as your local printer. The Client Installation can be performed on Windows 2000/XP/2003/Vista with the same user interface. Before installation, please confirm that your PC has already connected to the network and installed at least one network protocol. Note that the following steps are running in Windows XP, for other Operation Systems the procedures are similar.
1. Please execute the Client installation software manually.
15
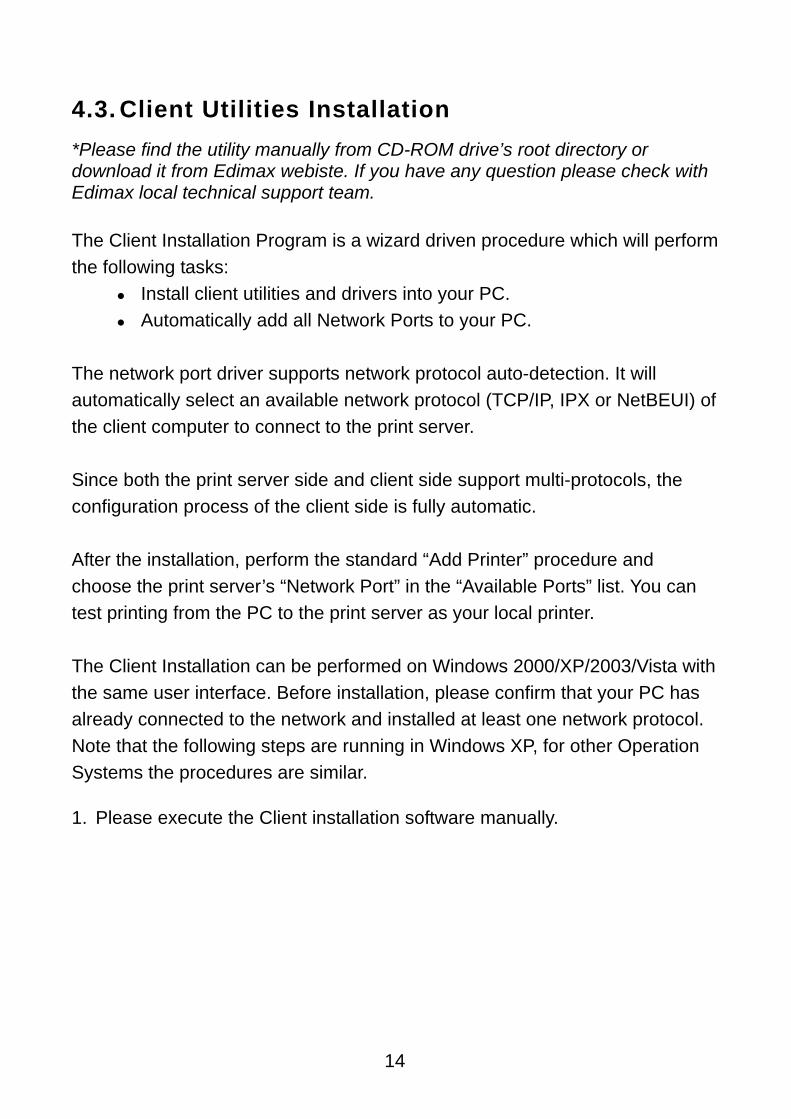
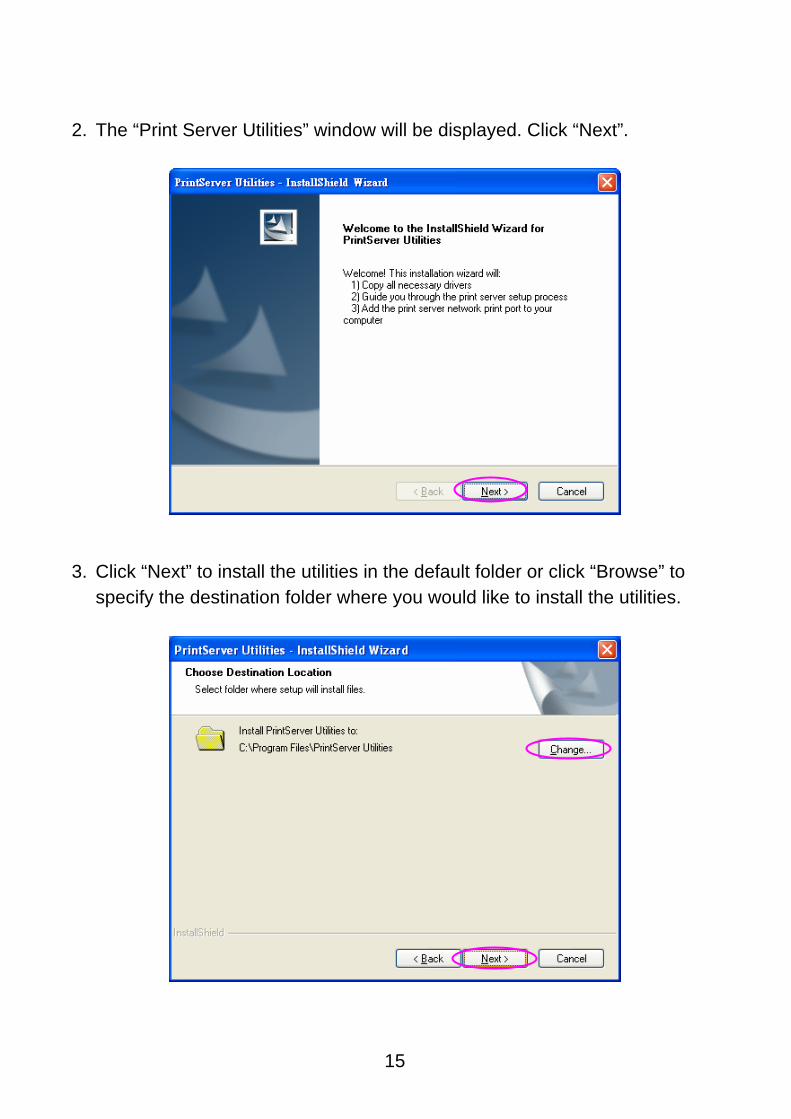
2. The “Print Server Utilities” window will be displayed. Click “Next”.
3. Click “Next” to install the utilities in the default folder or click “Browse” to specify the destination folder where you would like to install the utilities.
16
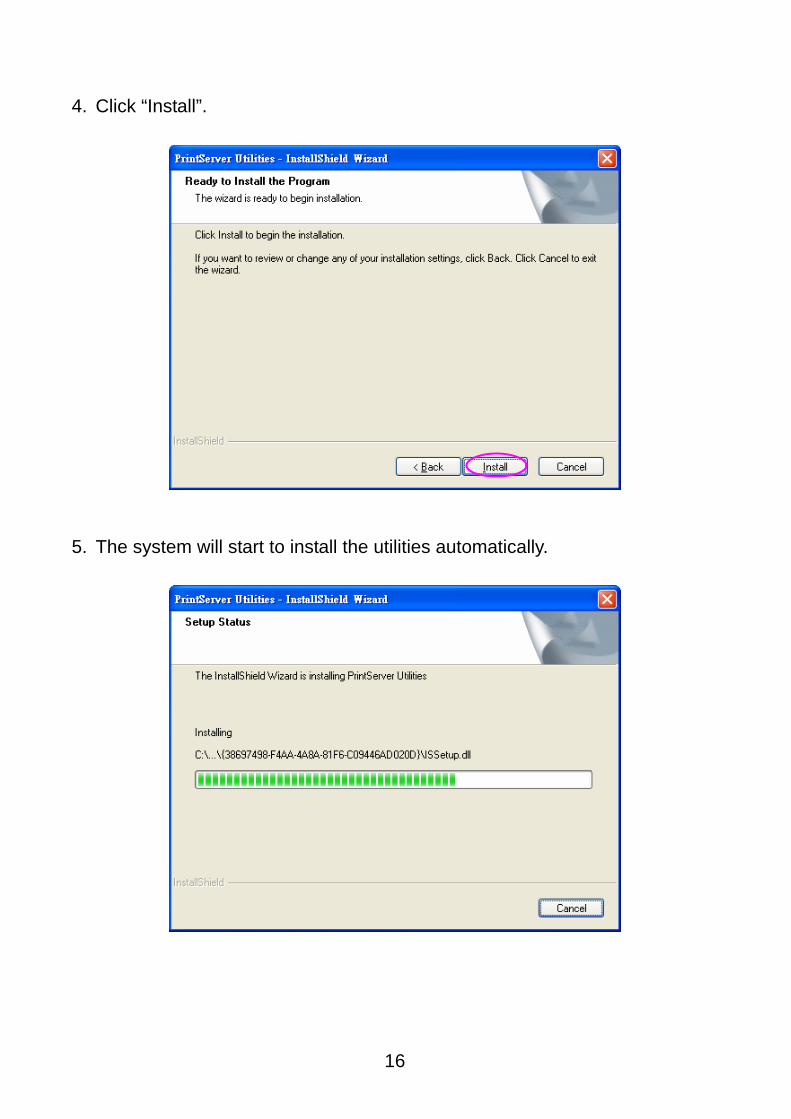
4. Click “Install”.
5. The system will start to install the utilities automatically.
17
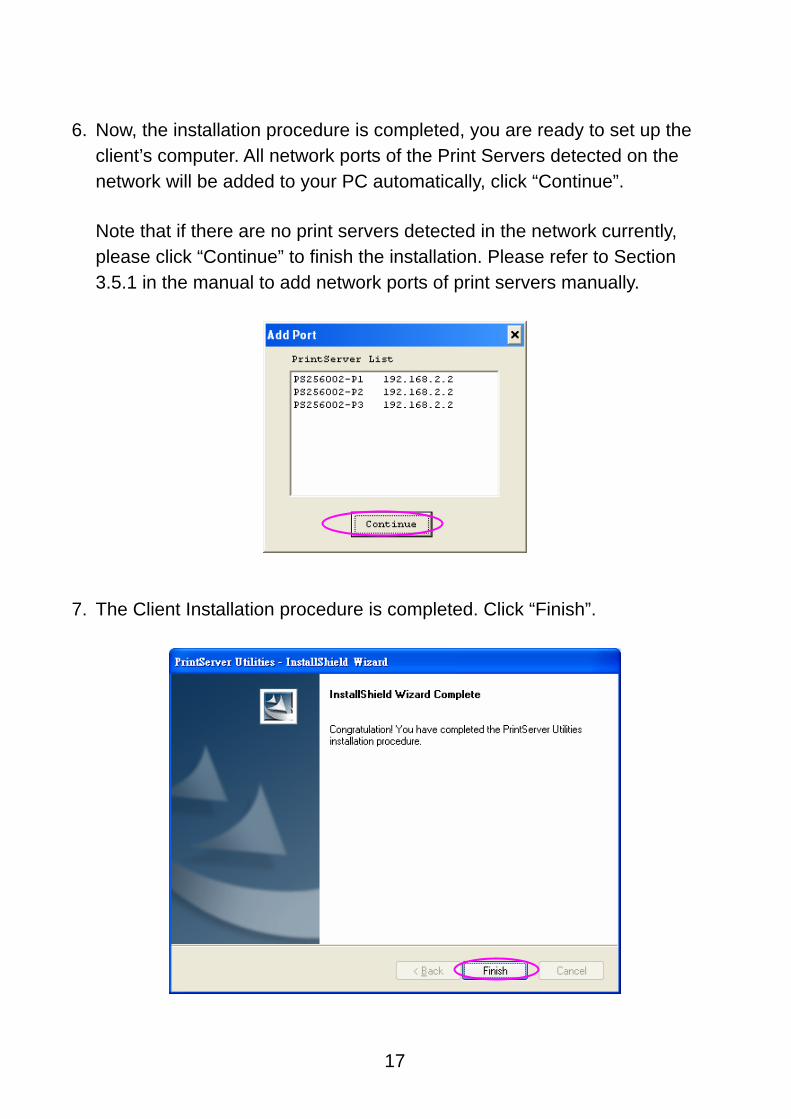
6. Now, the installation procedure is completed, you are ready to set up the client’s computer. All network ports of the Print Servers detected on the network will be added to your PC automatically, click “Continue”.
Note that if there are no print servers detected in the network currently, please click “Continue” to finish the installation. Please refer to Section 3.5.1 in the manual to add network ports of print servers manually.
7. The Client Installation procedure is completed. Click “Finish”.
18
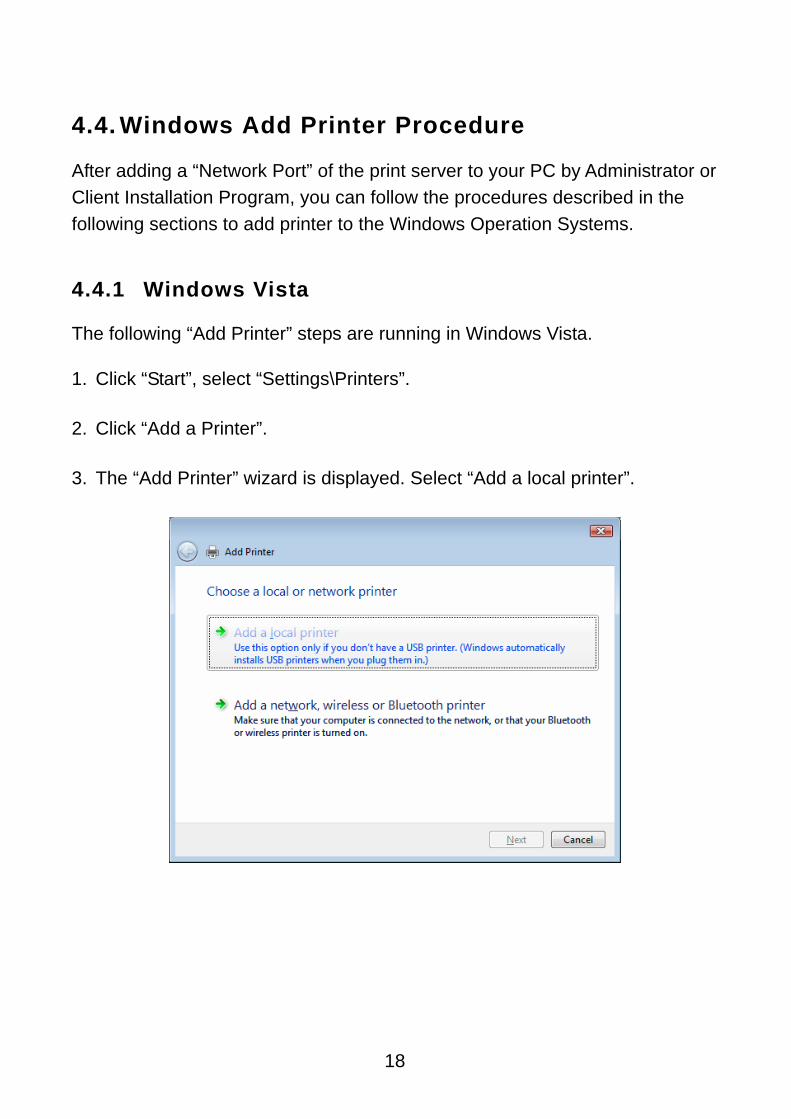
4.4. Windows Add Printer Procedure
After adding a “Network Port” of the print server to your PC by Administrator or Client Installation Program, you can follow the procedures described in the following sections to add printer to the Windows Operation Systems.
4.4.1 Windows Vista
The following “Add Printer” steps are running in Windows Vista.
1. Click “Start”, select “Settings\Printers”.
2. Click “Add a Printer”.
3. The “Add Printer” wizard is displayed. Select “Add a local printer”.
19
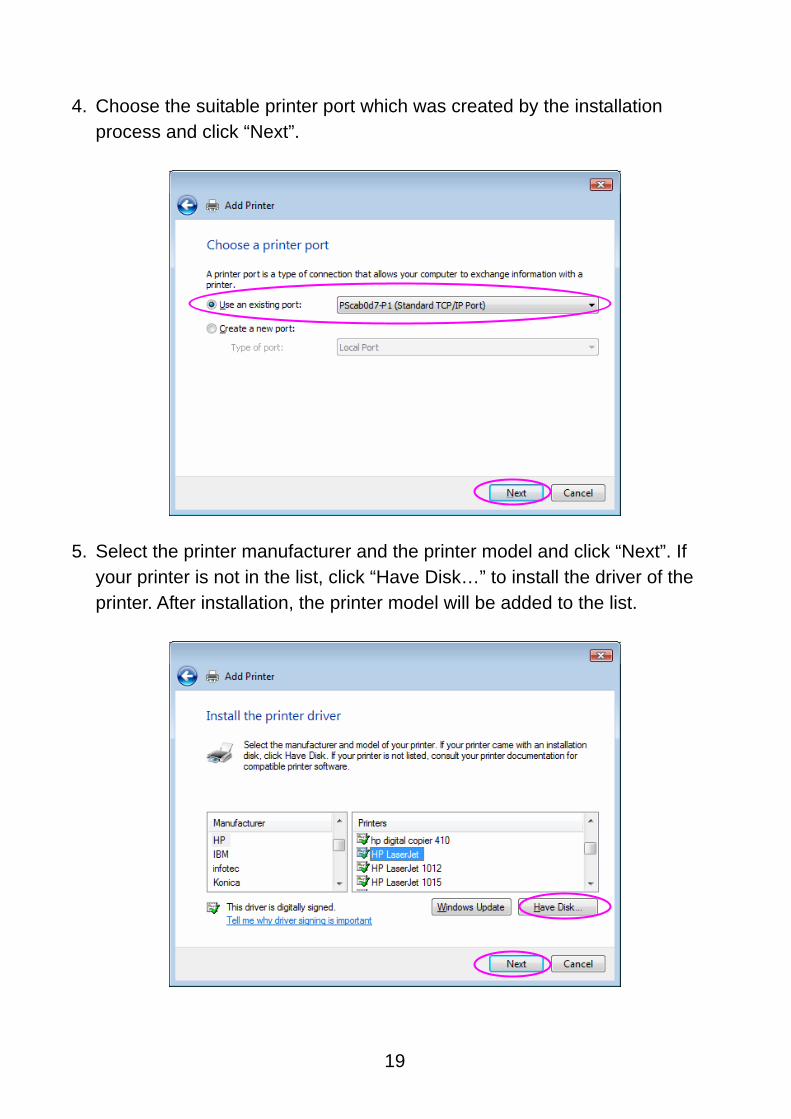
4. Choose the suitable printer port which was created by the installation process and click “Next”.
5. Select the printer manufacturer and the printer model and click “Next”. If your printer is not in the list, click “Have Disk…” to install the driver of the printer. After installation, the printer model will be added to the list.
20
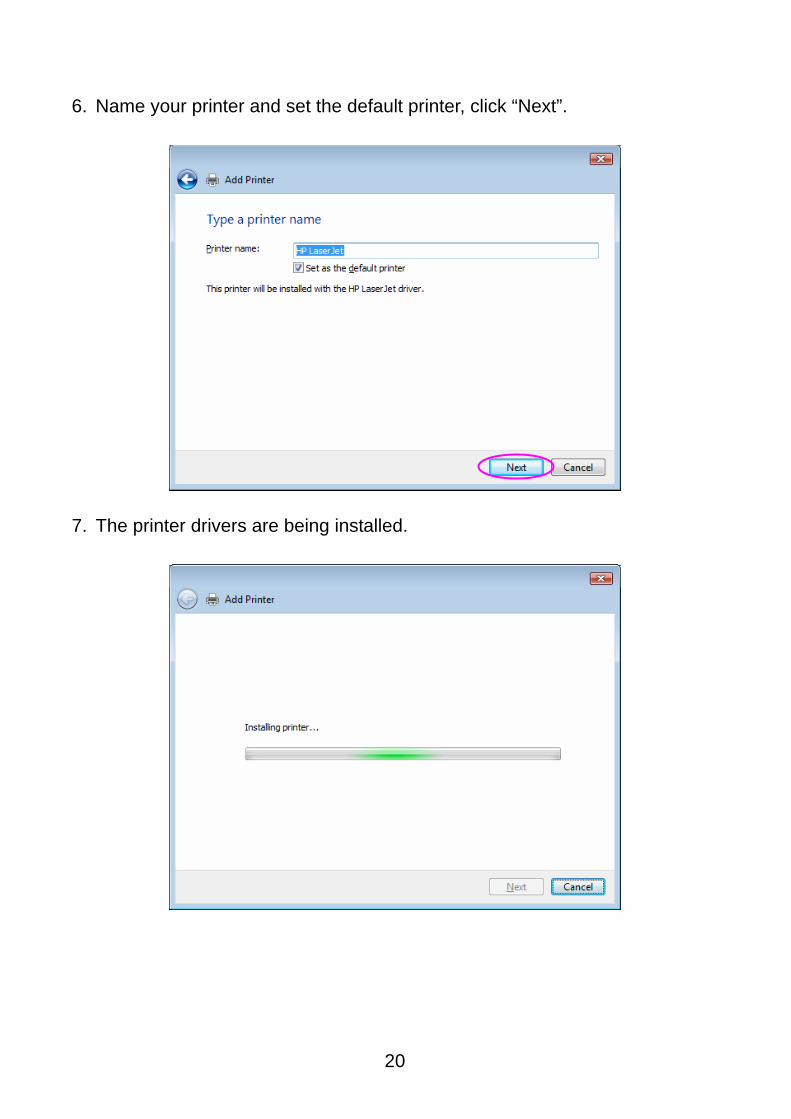
6. Name your printer and set the default printer, click “Next”.
7. The printer drivers are being installed.
21
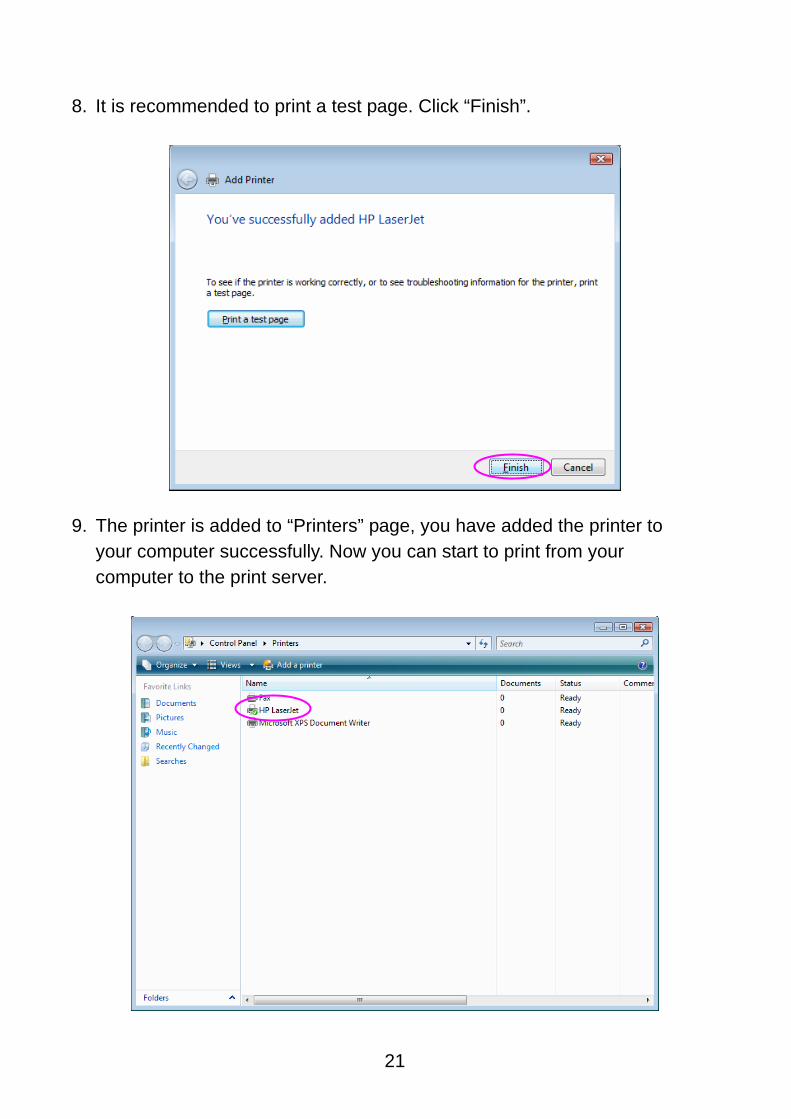
8. It is recommended to print a test page. Click “Finish”.
9. The printer is added to “Printers” page, you have added the printer to your computer successfully. Now you can start to print from your computer to the print server.
22
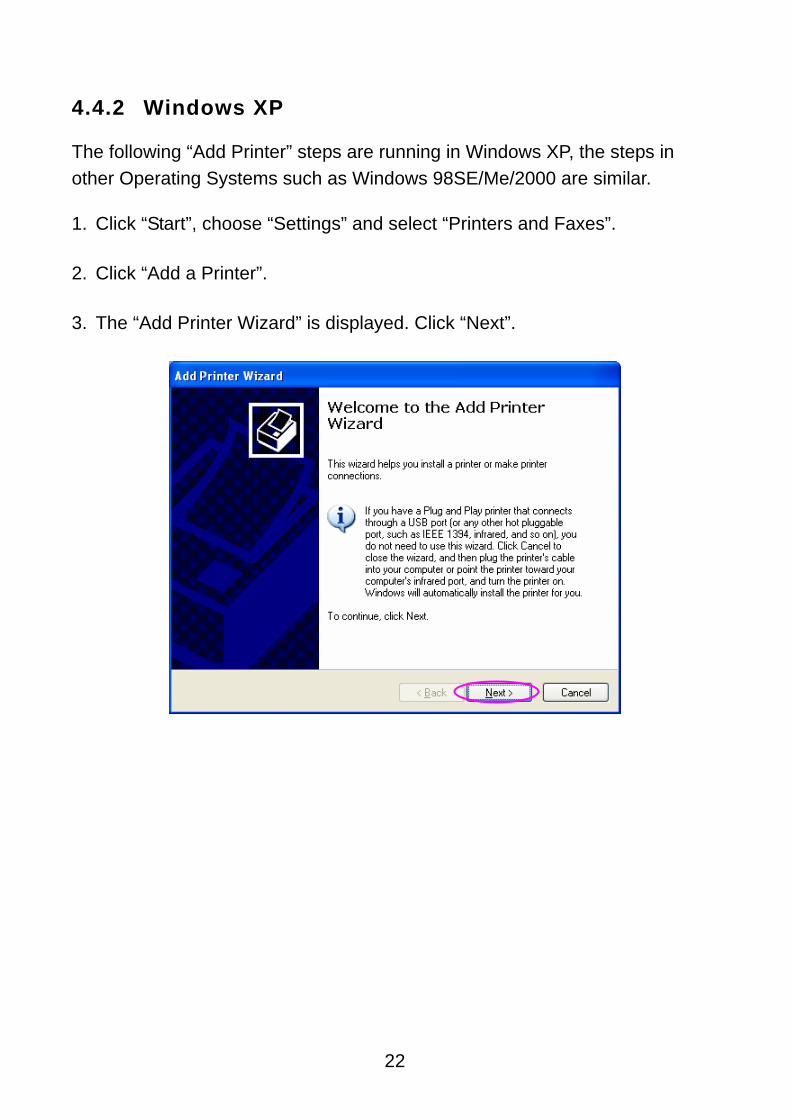
4.4.2 Windows XP
The following “Add Printer” steps are running in Windows XP, the steps in other Operating Systems such as Windows 98SE/Me/2000 are similar.
1. Click “Start”, choose “Settings” and select “Printers and Faxes”.
2. Click “Add a Printer”.
3. The “Add Printer Wizard” is displayed. Click “Next”.
23
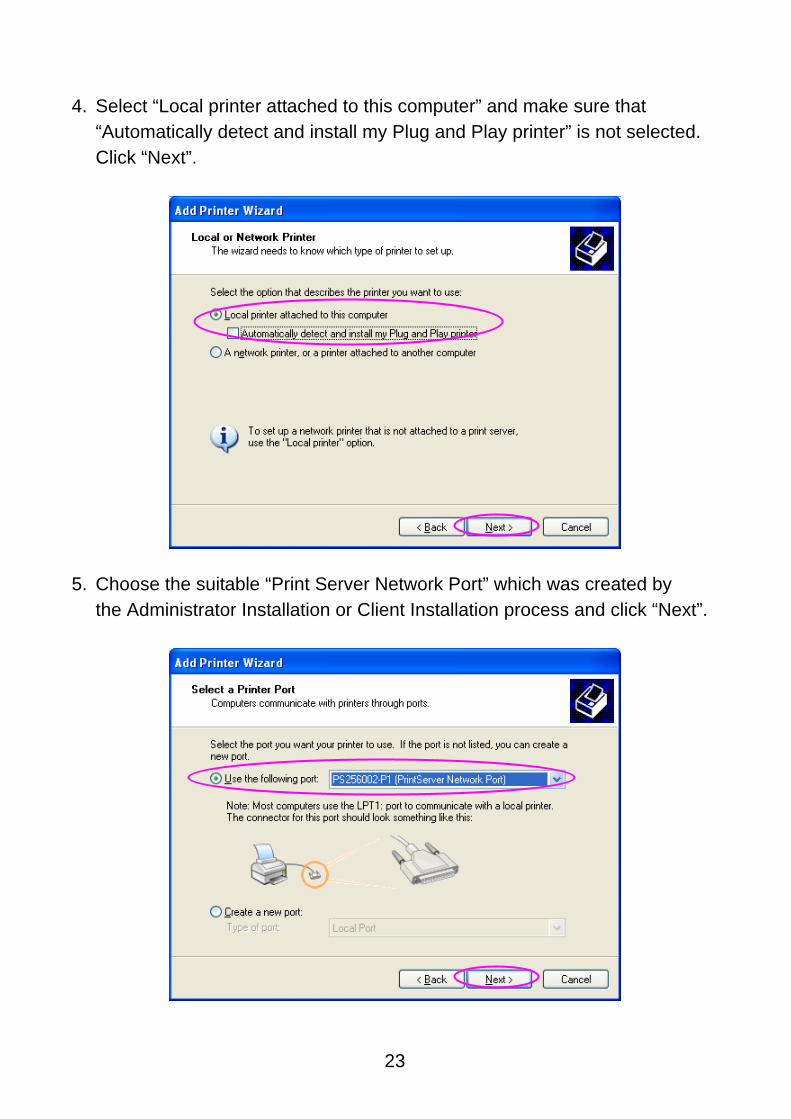
4. Select “Local printer attached to this computer” and make sure that “Automatically detect and install my Plug and Play printer” is not selected. Click “Next”.
5. Choose the suitable “Print Server Network Port” which was created by the Administrator Installation or Client Installation process and click “Next”.
24
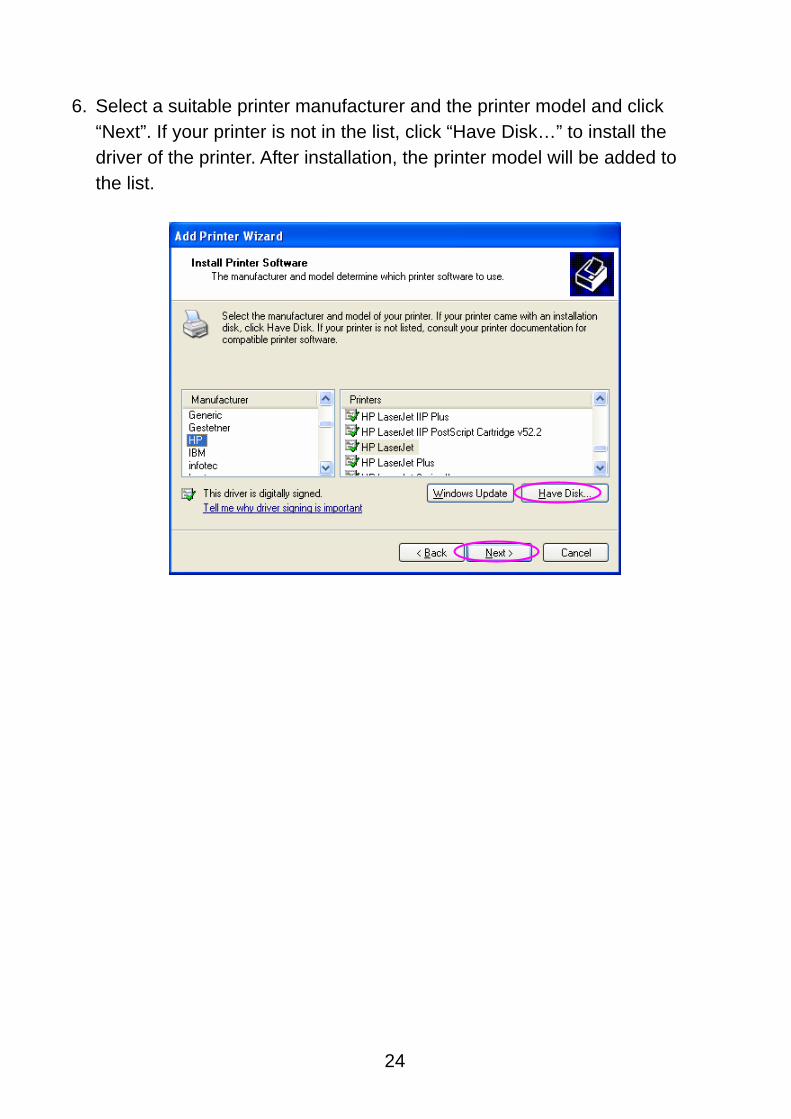
6. Select a suitable printer manufacturer and the printer model and click “Next”. If your printer is not in the list, click “Have Disk…” to install the driver of the printer. After installation, the printer model will be added to the list.
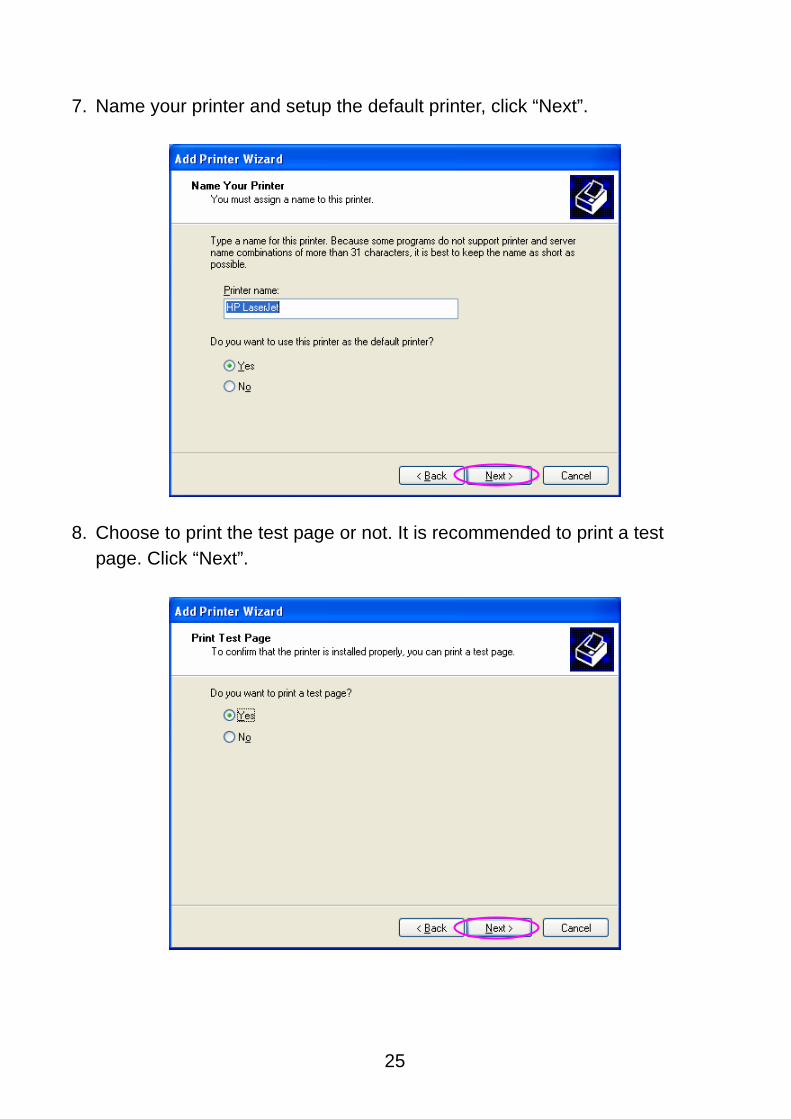
25
7. Name your printer and setup the default printer, click “Next”.
8. Choose to print the test page or not. It is recommended to print a test page. Click “Next”.
26
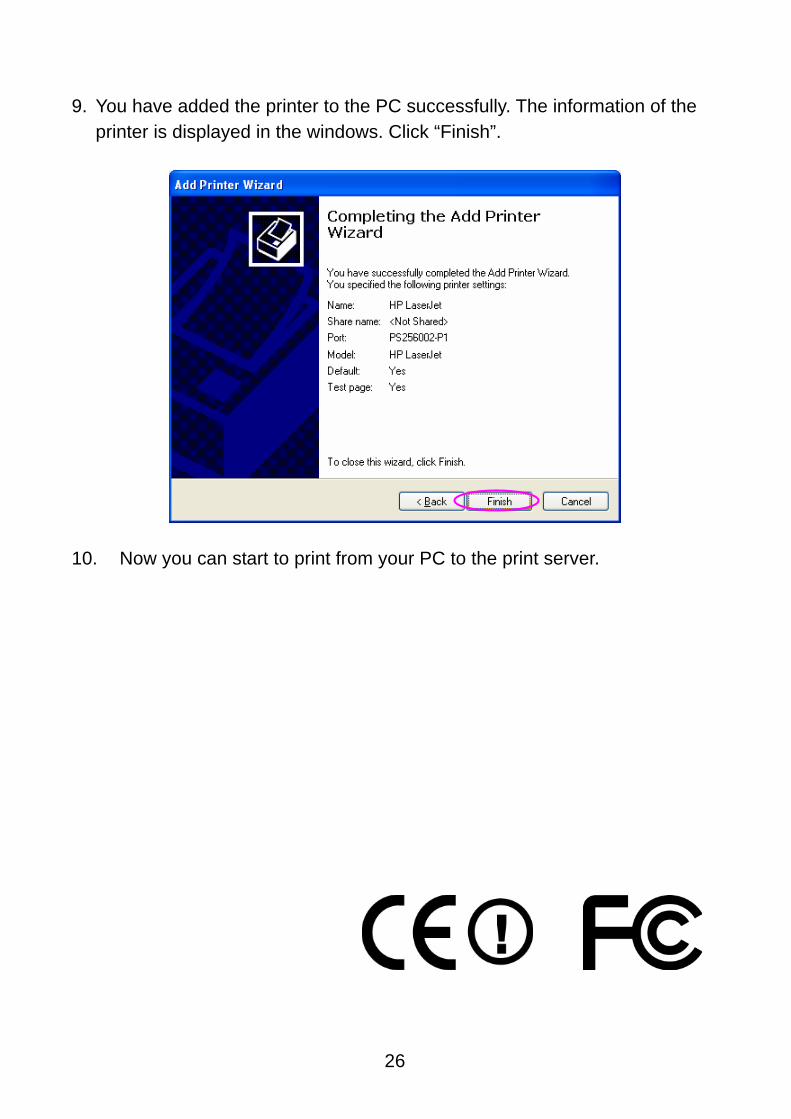
9. You have added the printer to the PC successfully. The information of the printer is displayed in the windows. Click “Finish”.
10. Now you can start to print from your PC to the print server.


